

Lately I’ve been noticing my need for more branded type images for my Instagram account posts. I also need something I can easily add quotes to share, or use for blog posts, or share screenshots in a stylish way. There are SO many resources these days for stock photography but I’ve come to find that the editing doesn’t match my aesthetic or the colors wouldn’t look cohesive with my branding. I’ve spent so much money on purchasing other people’s stock photography trying to see if I could make it work for me. Every now and then I find one that I love, but I definitely needed to stock up on images that I didn’t see all over Pinterest.
In other words, I needed something for me and I knew the only true way to do that was to 1) hire this service out – which I’ve done and was EXTREMELY happy with, or 2) gather some simple supplies and shoot some myself. So I started to scour Instagram, Pinterest, and Facebook for some inspiration. I pinned some blog posts about flat-lay photography, I read up on food photography, and I purchased a few small trinkets that would help give my images some interest. I’m actually kind of shocked at how simple the whole process was and I’m excited to share with you how I made it work for me so you can gather some ideas for yourself!
Software For Editing
Lightroom 5
Photoshop CC
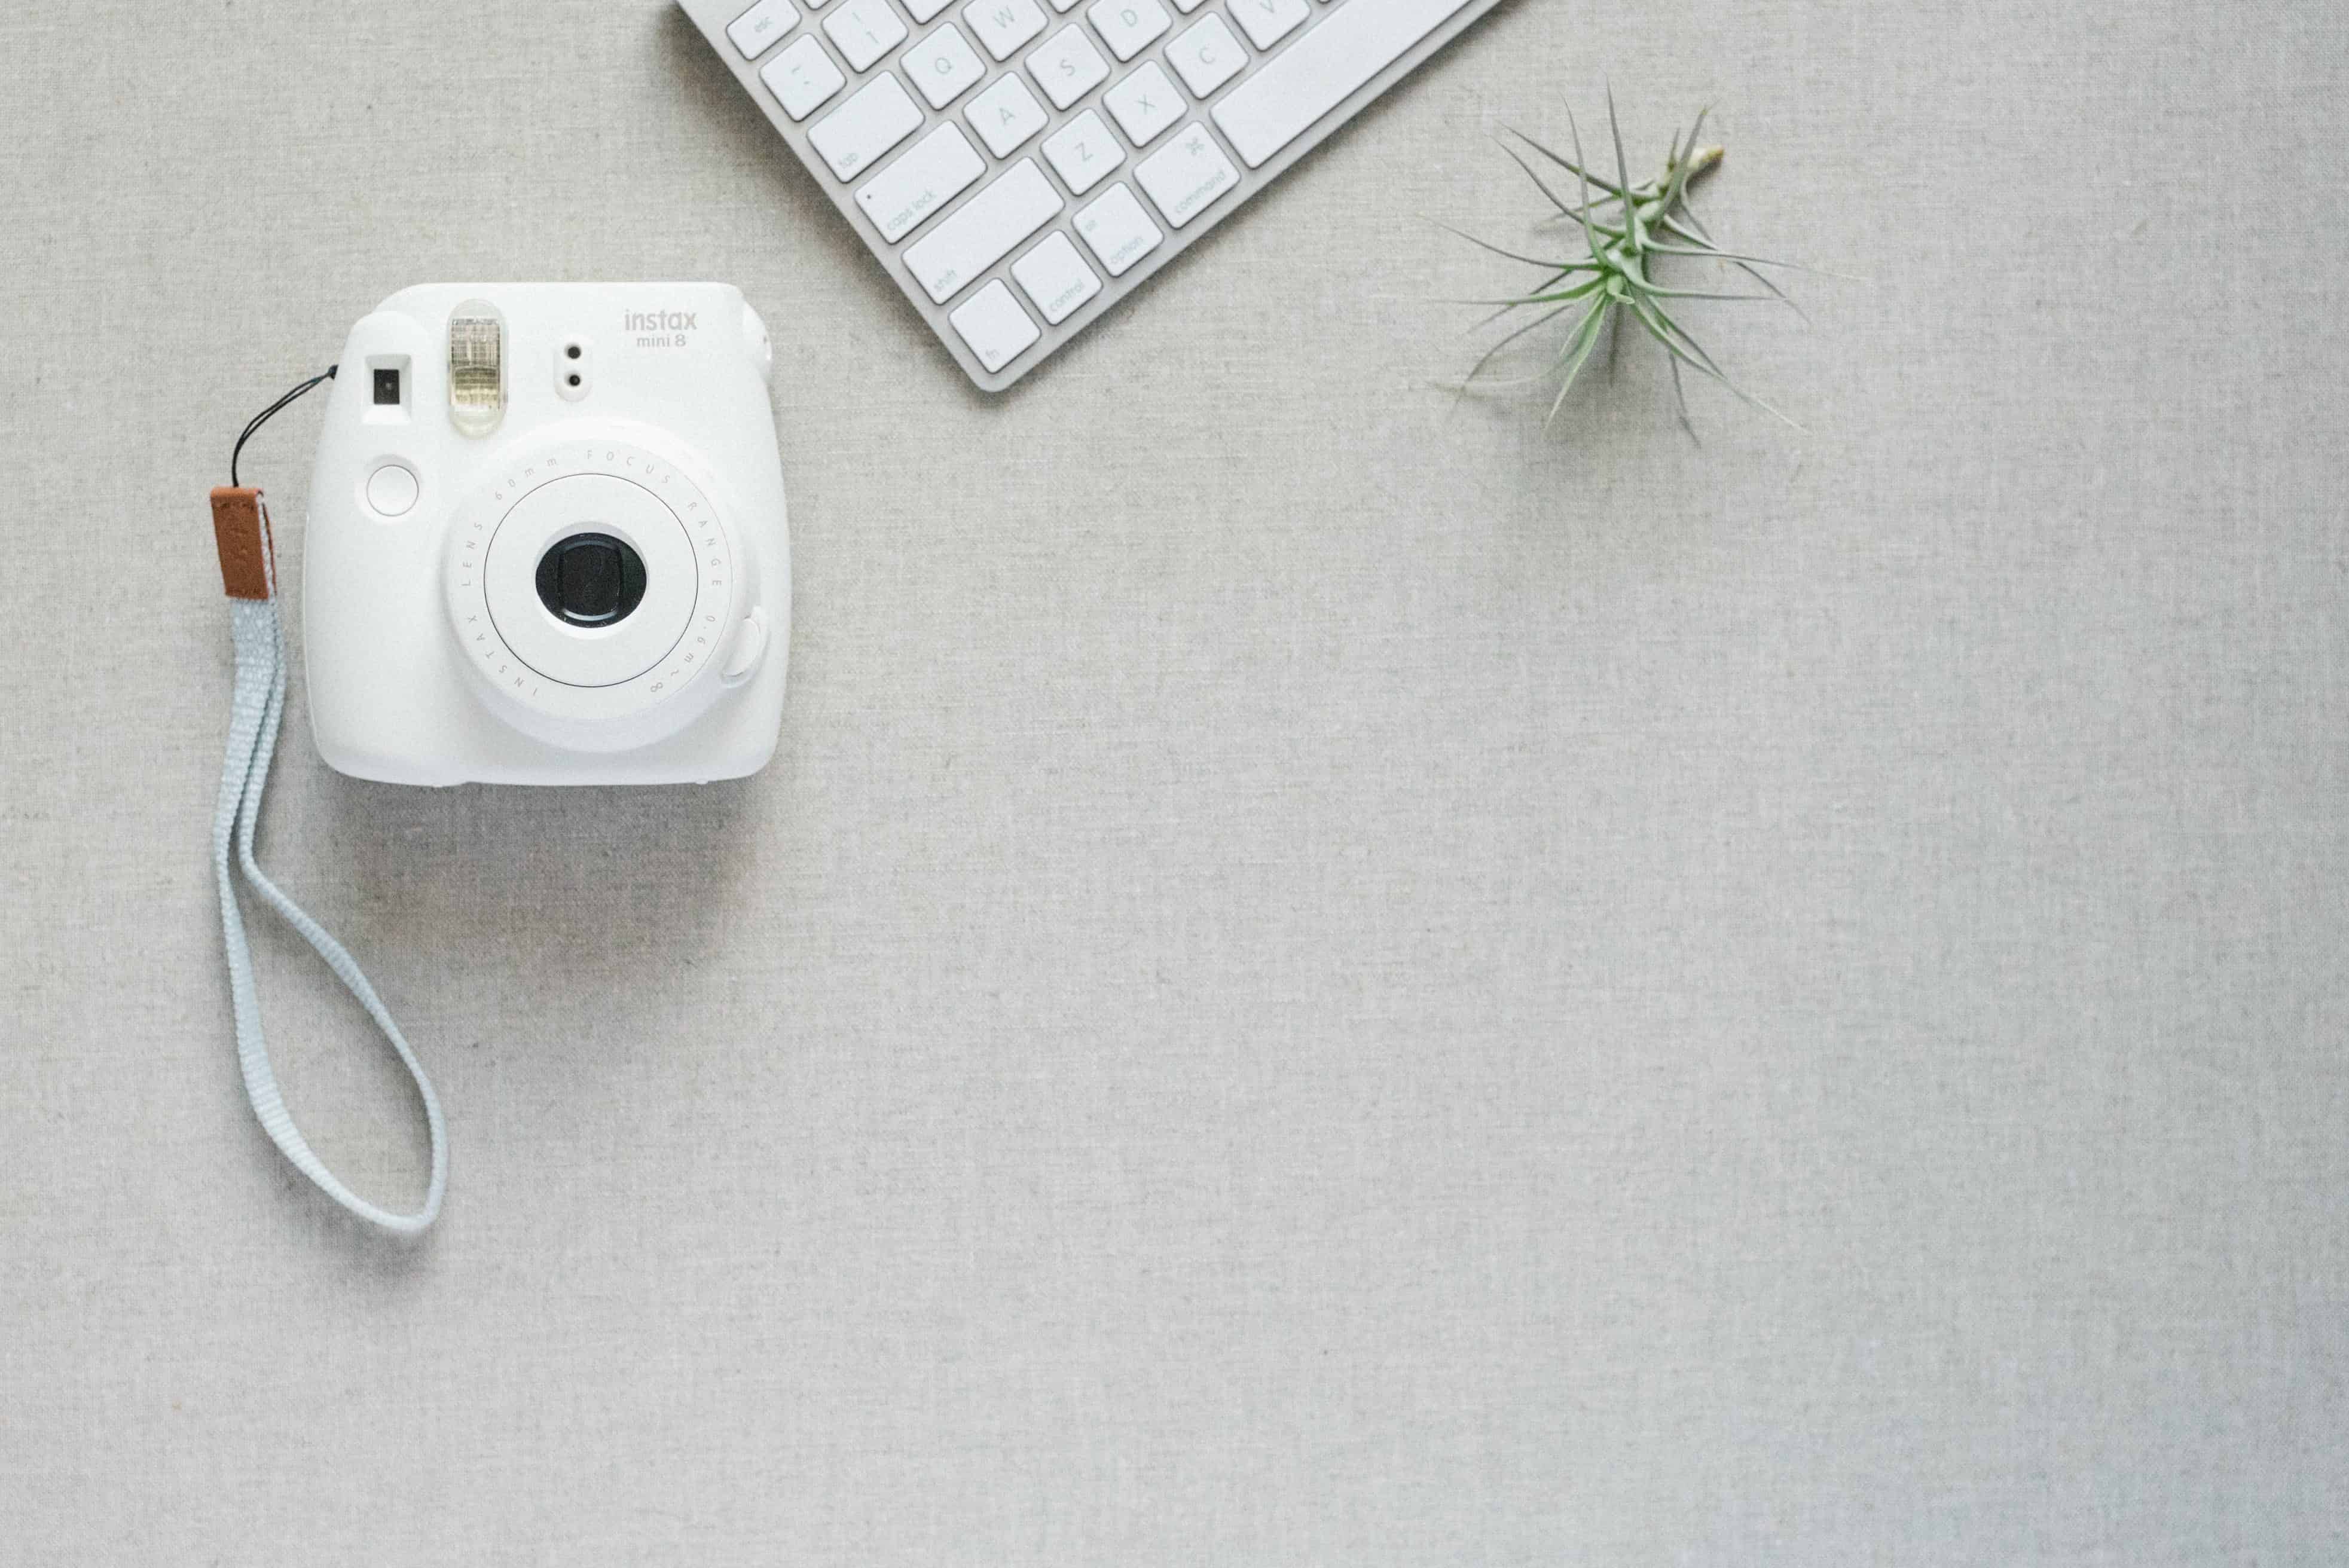
If you don’t have access to these programs, don’t let it stop you from capturing your own images using your cell phone! Smart phones are coming out each year with bigger and better cameras already installed. Just take it out of your pocket and shoot! Here are some editing apps you can download and use for your smartphone that will give you similar effects.
PicTapGo
VSCO Cam
Afterlight
Instagram
Filmborn (created by Mastin Labs, coming soon!)
Shooting Supplies
The equipment I have used to shoot these flatlays aren’t absolutely required for you to have! Like I mentioned above, you can easily create some branded flatlays with your cell phone and an editing app. But I thought I might also mention what type of gear I used (camera, lens, tripod) for those of you who may be interested in giving this a shot.
Nikon D750 camera body
Nikkor 35mm 1.4 G AF-S lens
Manfrotto Tripod with Horizontal Arm
Manfrotto Ball Head with Quick Release
Creative Supplies for Styling
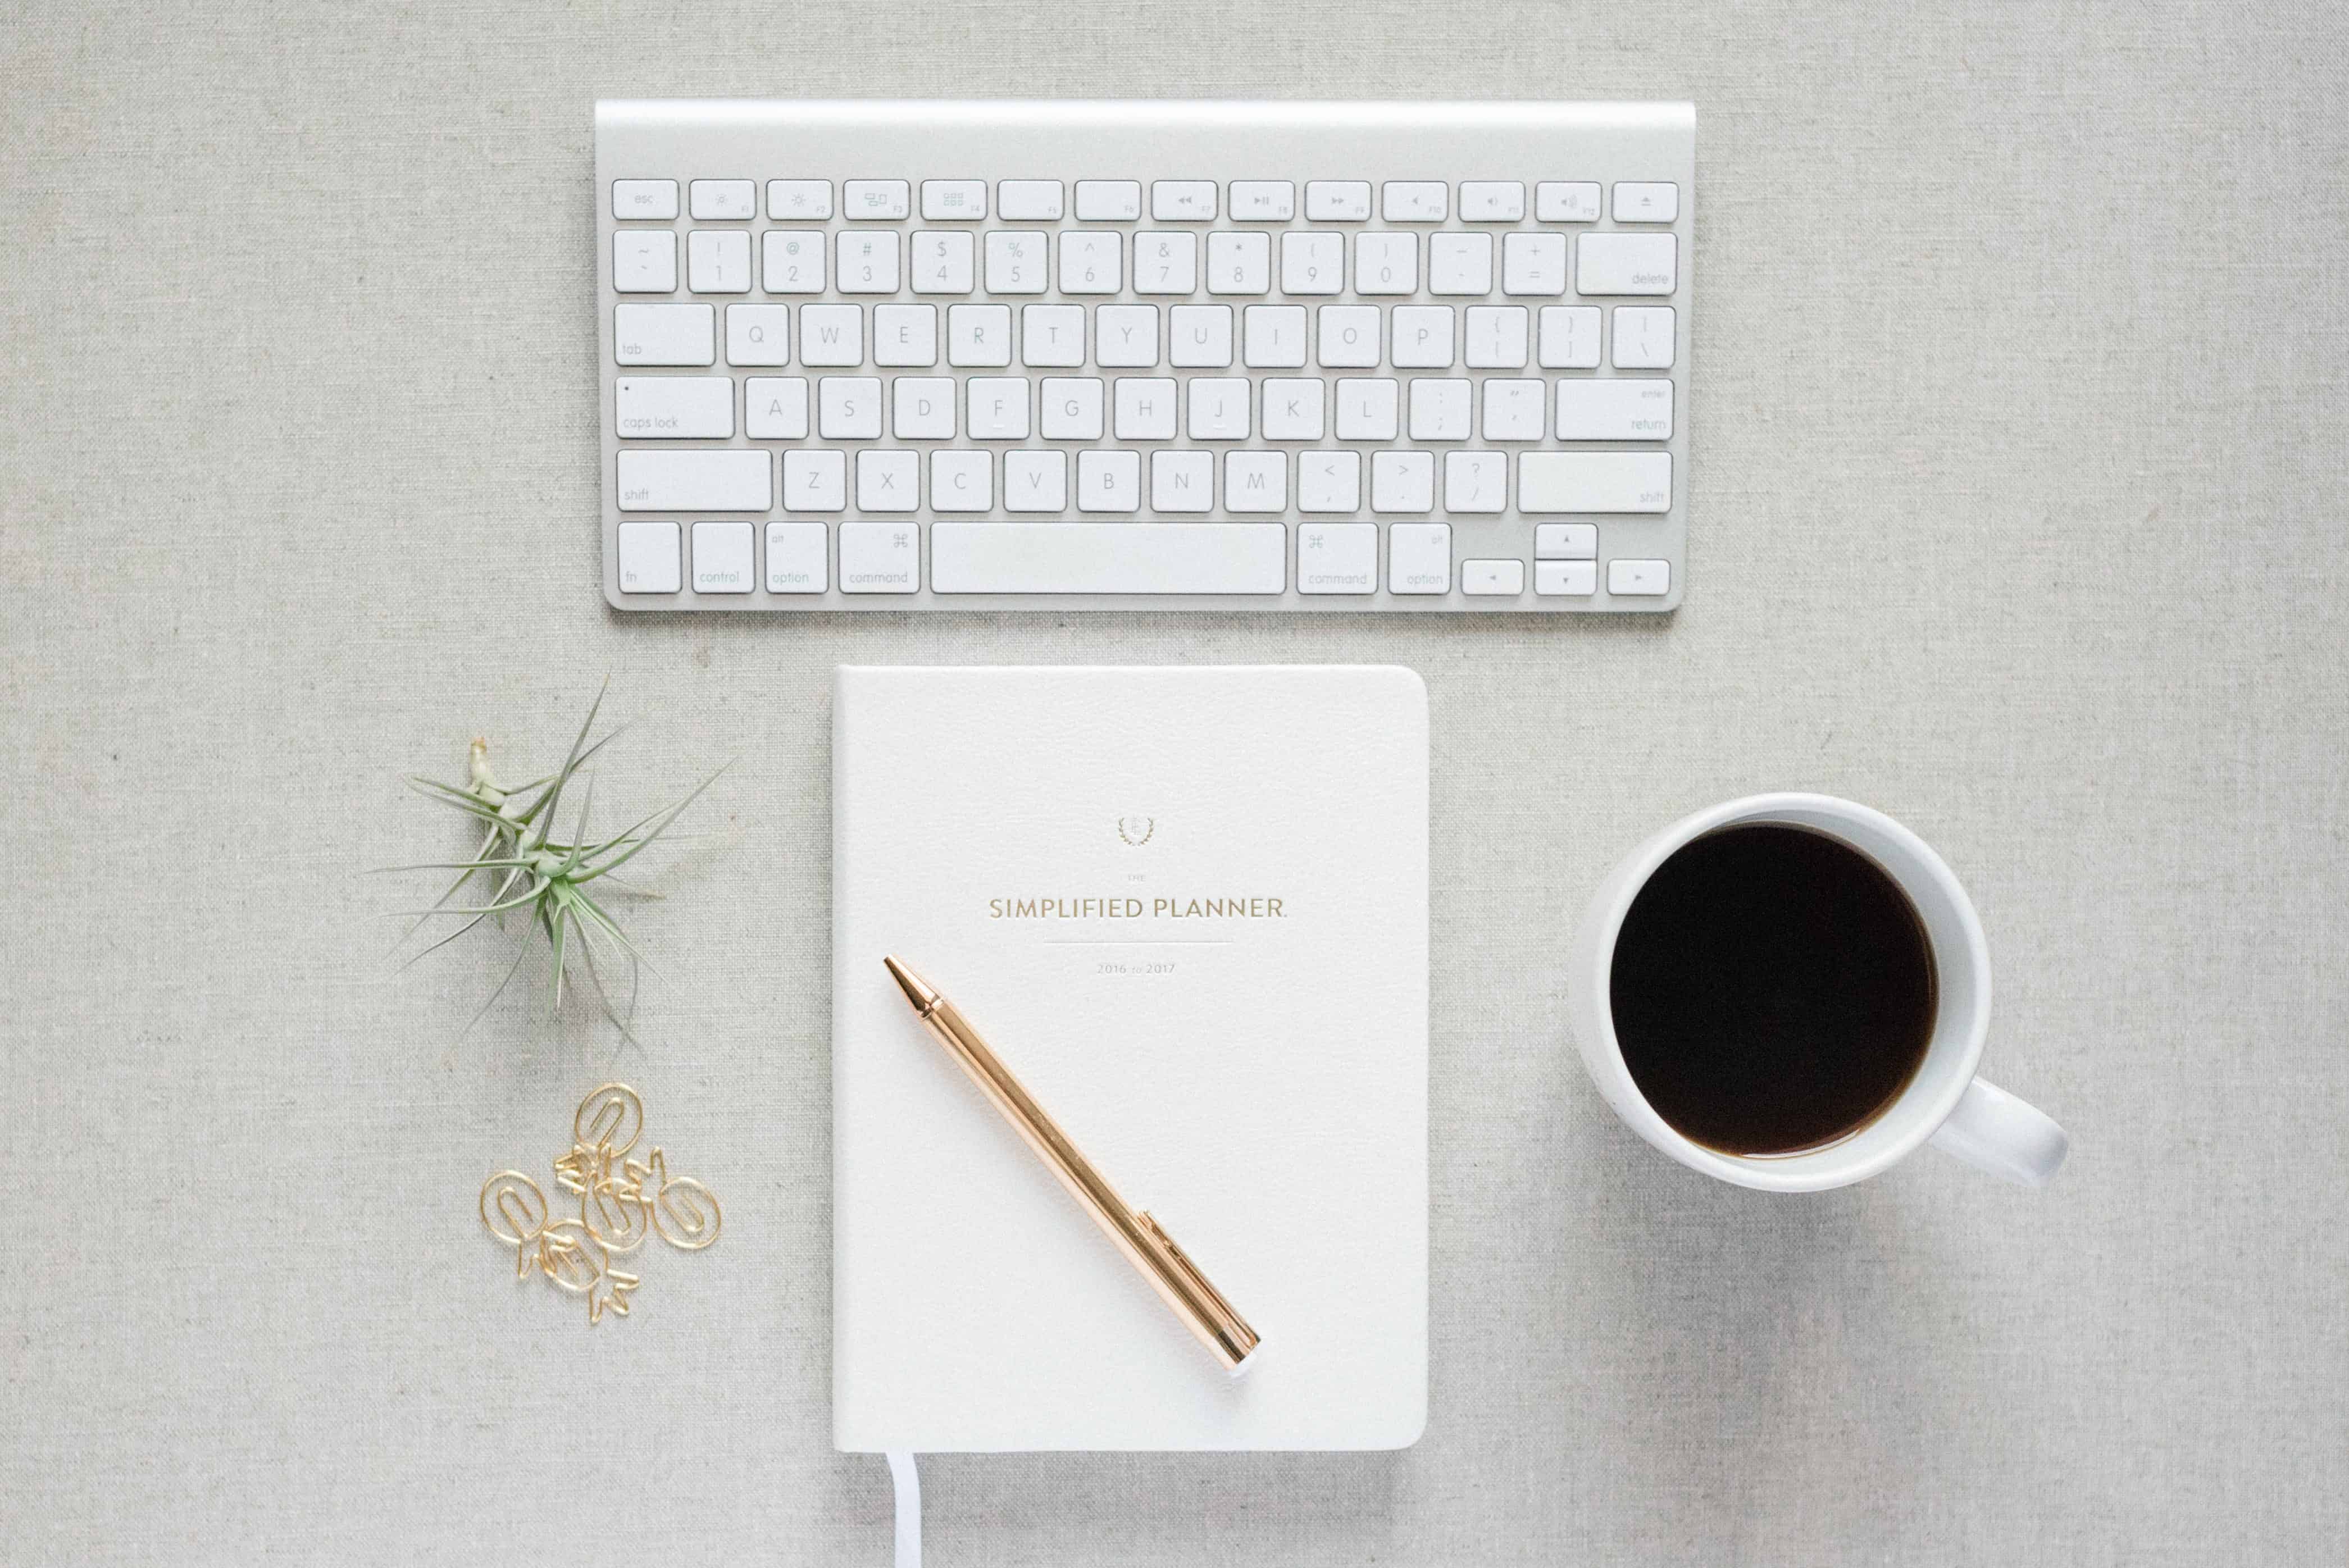
I’m always on the lookout for little things that I could use for styled flats. I usually pick these up while I’m in the grocery store, or surfing Amazon, or walking around Target. A lot of these items won’t cost you more than $10 and can always be repurposed in your home or office for decor or office supplies. Let your imagination go wild!! Just remember to try to choose items that will compliment your branding and not overpower your flat.
Keyboard
Mouse
Smartphone
Tablet or iPad
planner
ink pens
coffee mug full of coffee
comfy sweater
eye glasses
books you’re reading
photographs you’ve captured
makeup brushes and colors
your Passport or map
watches and jewelry
nail polish
flowers or greenery clipped from your garden
dainty paper clips (like the pineapple ones I picked up in Emily Ley‘s online shop) or mini clipboards
air plants or succulents
gold handled scissors
styling board (you can make your own using canvas fabric and thin canvas board from Michael’s OR you can purchase boards here through Heirloom Bindery)
white foam board from Office Depot
Try not to feel limited to what you can use as a backdrop for your flat-lay styling! I’ve seen people use white bed sheets to create a cozy atmosphere. Or you can use a rug that has lots of texture and interest. Or you can even use a simple hardwood floor in your home near a window. You can even purchase some textured contact paper and use that as a faux backdrop to create a wooden look, or even marble. (Click here to read more on inspiration for backgrounds!!) I’m sure you’ll be able to walk around your home or office and begin collecting supplies you have laying around!
Where Do I Begin??
Side Note: I captured this next image with my cell phone since my “big camera” was strapped to the tripod. But showing you what my setup looks like will give you a great starting point to do your own.
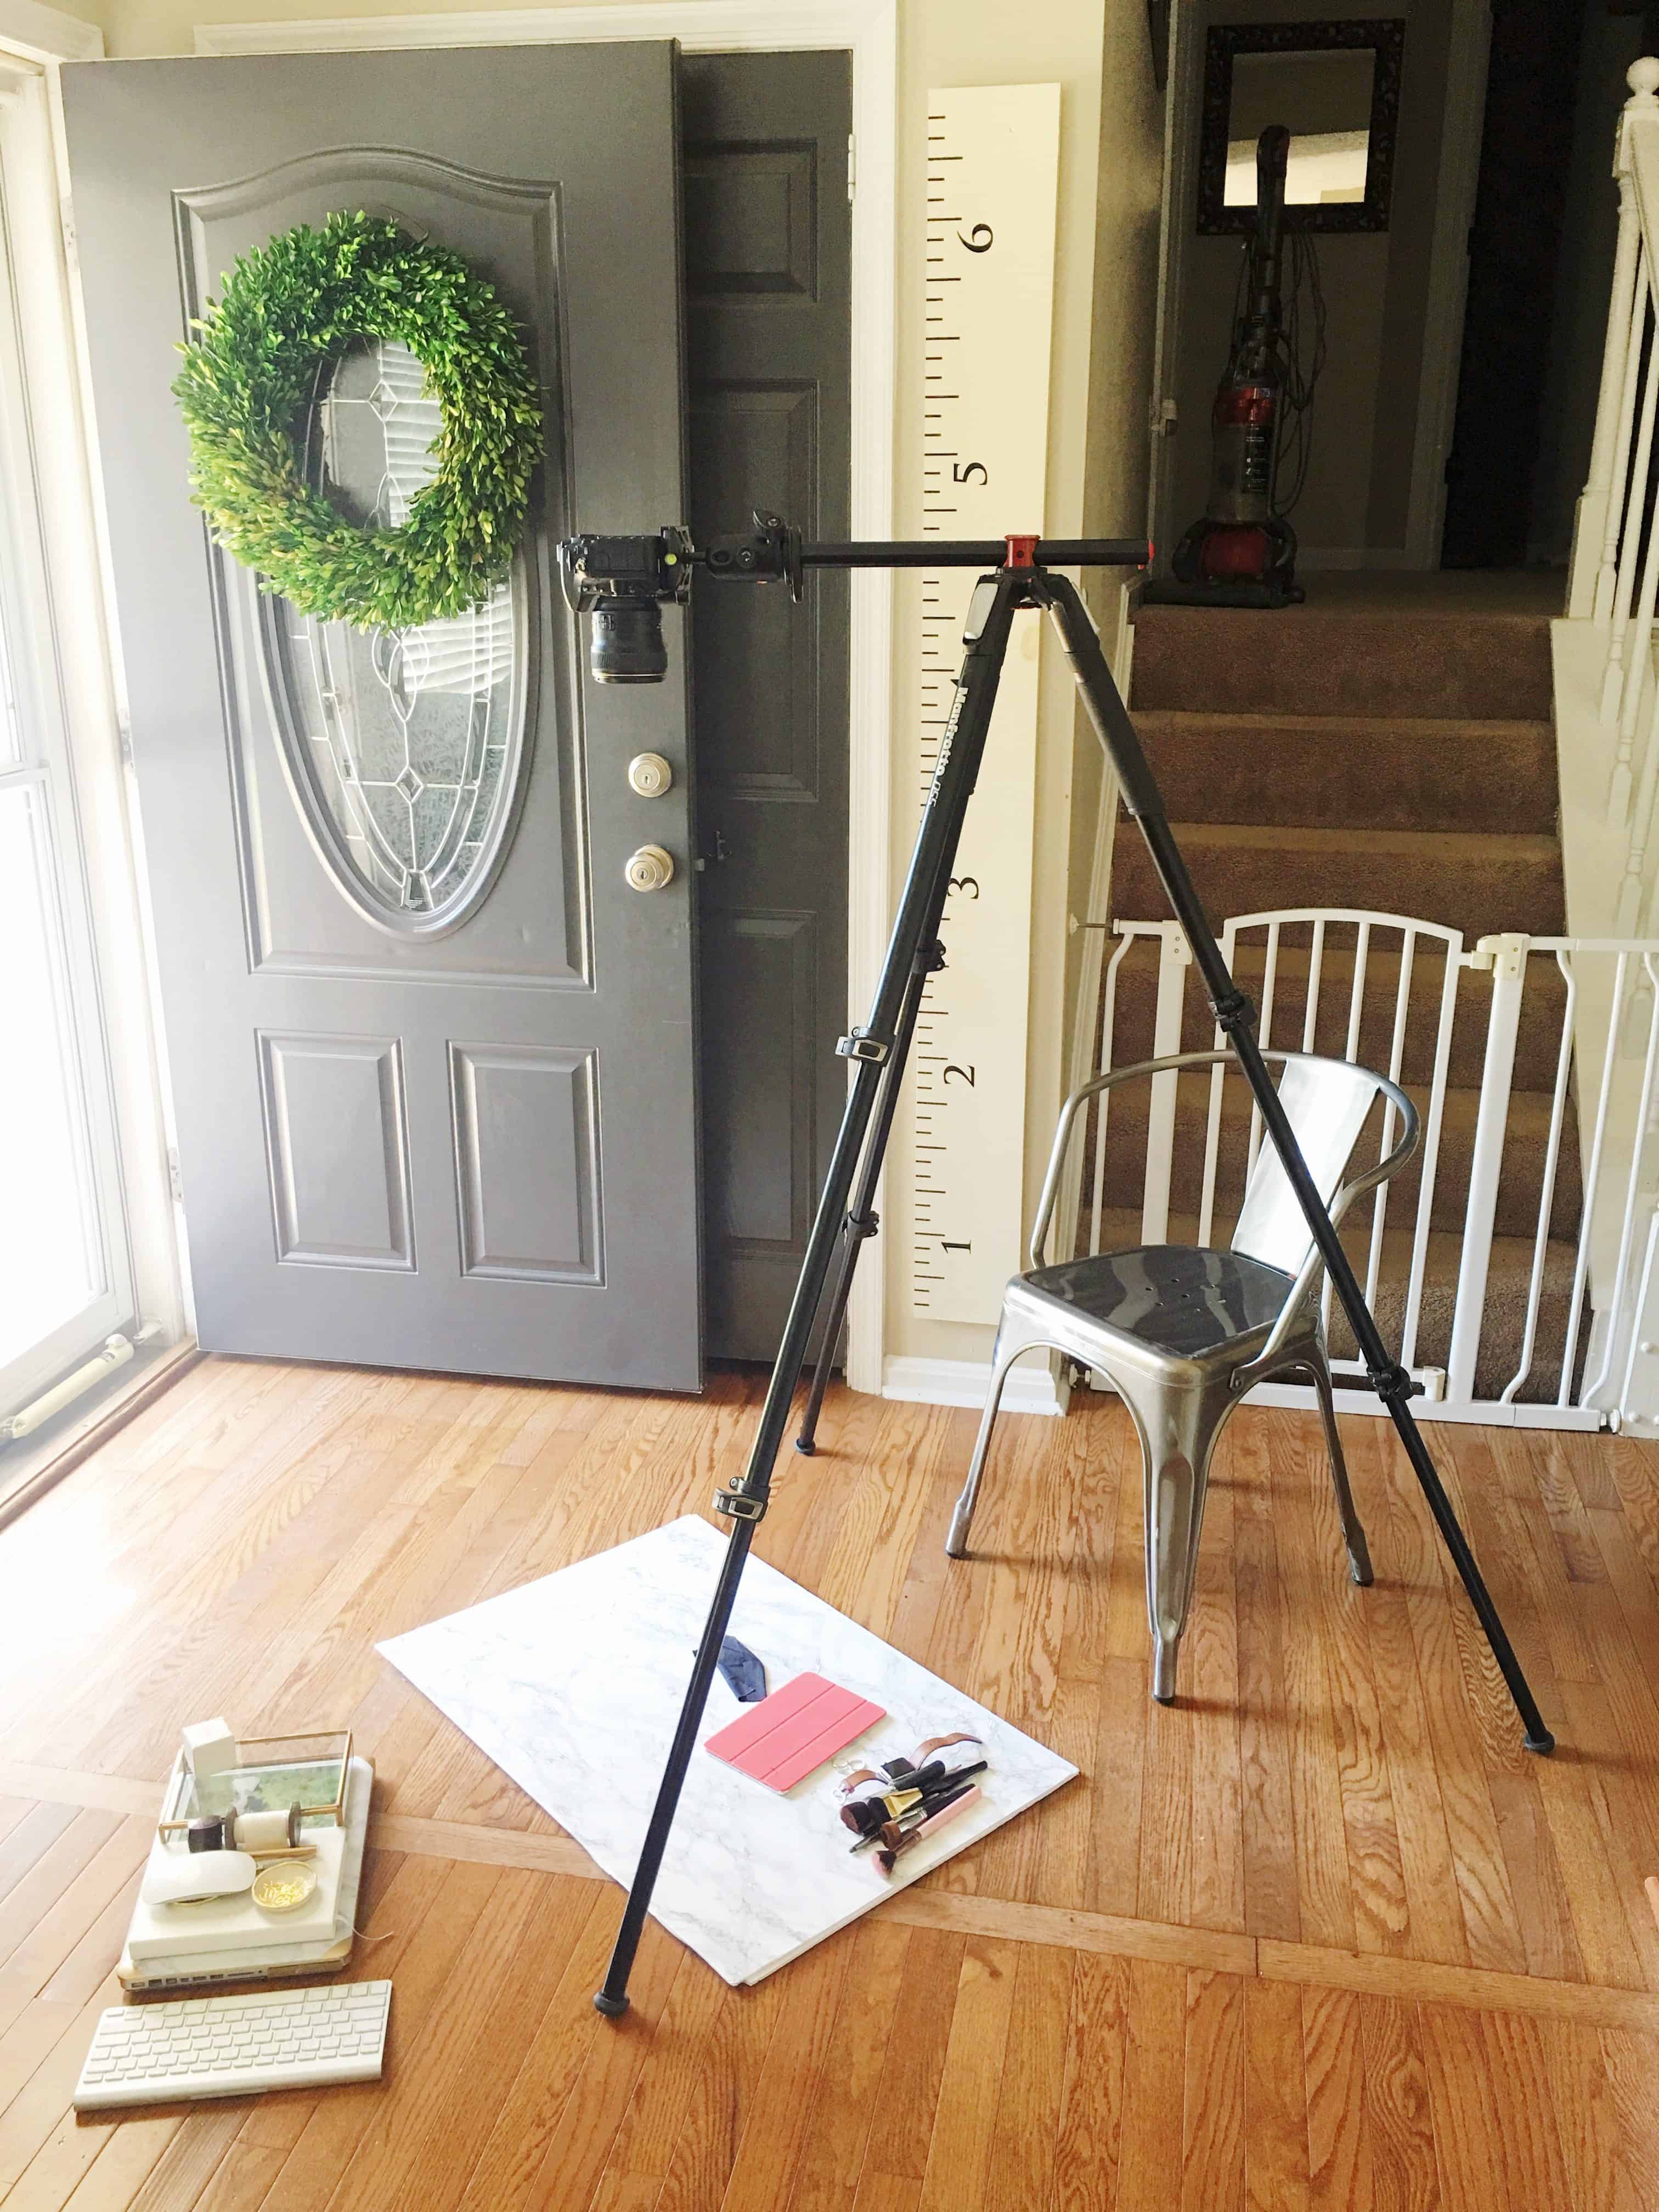
What you’ll first need to do is gather the supplies you plan on using for your shoot. Find a clean and clear NATURAL LIGHT source, likely near a large window or door that is not blocked by something in the way. If you need to move furniture around, please do it. You’ll be more pleased with your final results if you’re able to find a filtered natural light source for your images. When considering places to go in your home to capture these images take some time to look at the quality of light in each room of your house. Our house faces East and the front door is the brightest, hottest spot of the house early in the morning. If I were going to shoot early morning, I would have moved my supplies into the kitchen near the sliding glass door. This would have ensured that I would get pretty, filtered light and not hard, direct light. The type of light you choose to shoot in will end up making the biggest difference in your images! Since I was shooting in the afternoon and the sun had already started to pass over the roof towards the back yard, I decided to open our front door and lay my supplies out in the filtered light.
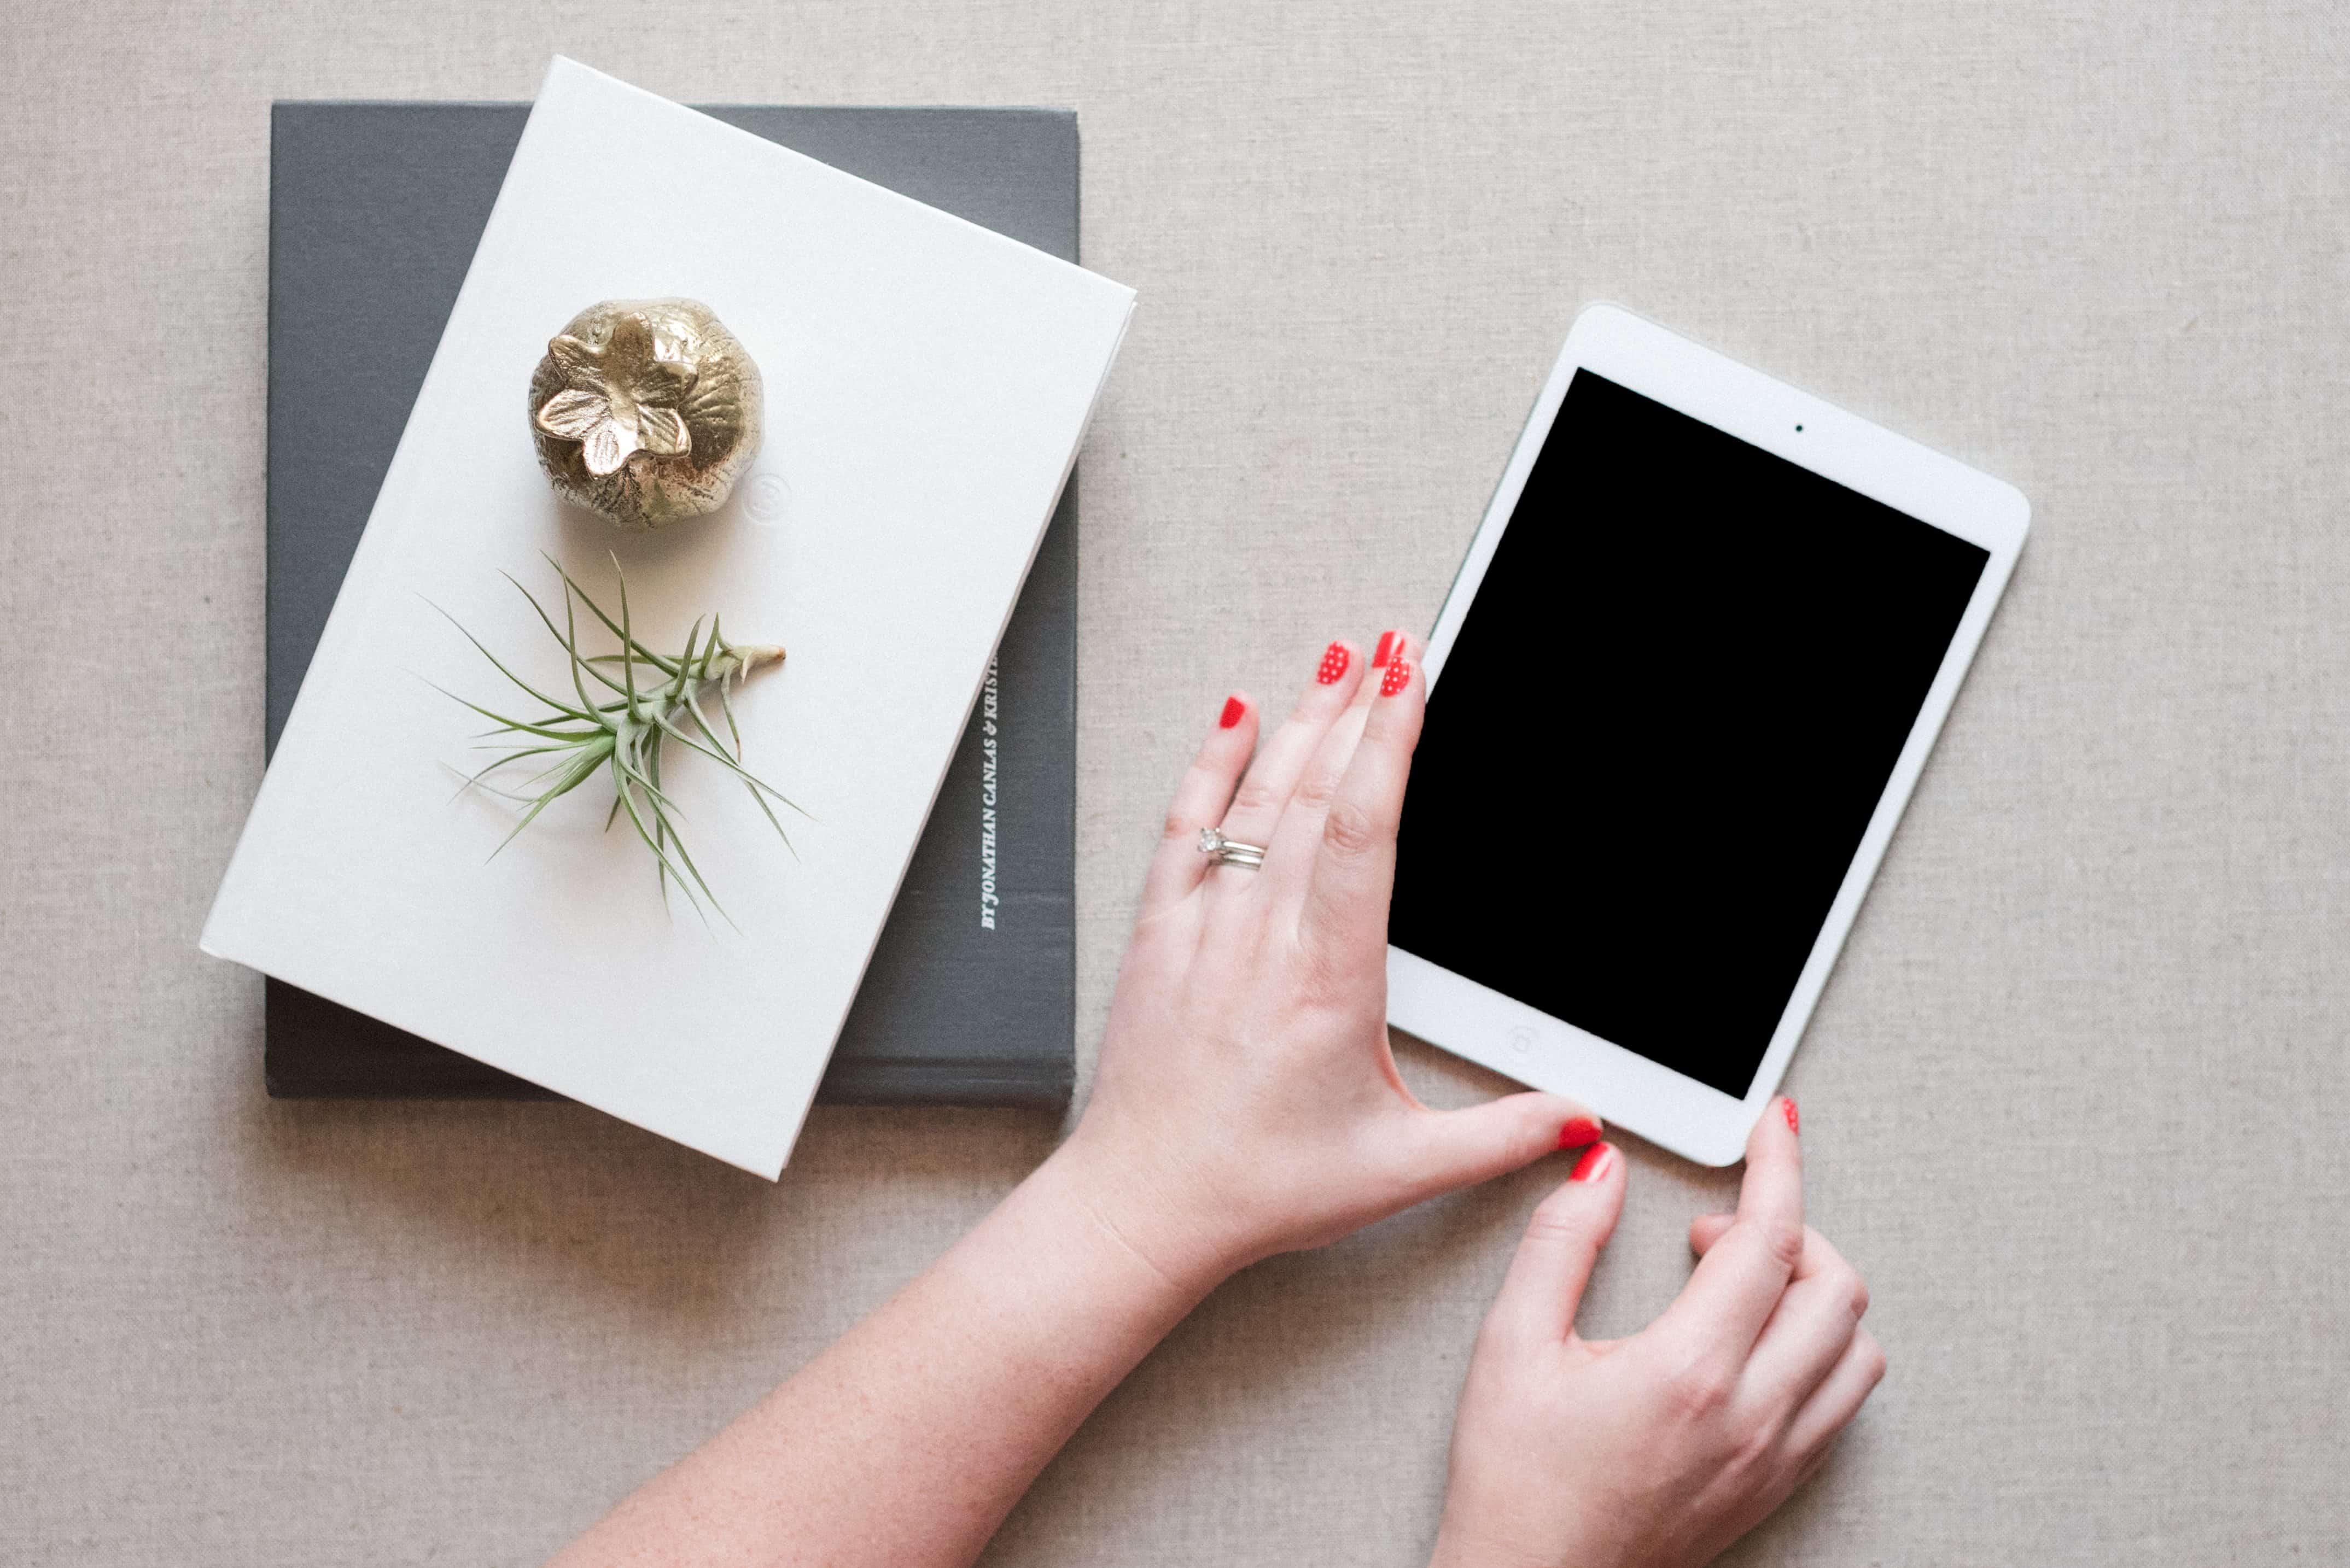
I quickly set up my tripod so my camera would be held horizontally over the flat styling boards. This helps to free up my hands (in cases where my hands will be in the shot), and it also reduces camera shake. I’m also able to lay or sit in the floor with the styling boards and play around with my little trinkets until I get a look I like. If my hands are in the shot (example, below) I will either set the auto timer on the camera or just have my son push the shutter button for me. He’s a bit rough sometimes and I’ll still get camera shake with the tripod on because he slams the shutter button down so hard. So, if you’re working with someone who has a heavy hand just try to instruct them to be soft with the button.
Having the camera on my tripod also allows me to meter for the light and work quickly so I don’t have to re-meter. This helps to save some time while shooting and while editing. If your camera has the live-view option, try to use that as well! I have found that looking at the image (while the camera is on the tripod) I can crop in-camera and meter properly. HUGE time saver.
Another tip I want to share is that I’m working with two white foam boards. Using one board as a reflector to push light back into your subject is a great way to lighten up your harsh shadows. I also noticed a slight color change on the keyboard and MacBook Pro I was using as props when I used the white foam board as a reflector. This was because the metal finish on the Mac products was picking up the green color cast from our bushes and grass in our front yard! With the white foam board propped up against my tripod’s legs I was able to completely eliminate that nasty green color. (BAM! Less editing!)
You’re also very able to capture some gorgeous branding images with your cell phone! In fact, I pulled my cell phone out to capture one for IG while I was working on shooting these flats. I used the app called PicTapGo to edit my image, then I pulled it into Instagram and touched up the editing there a little more. Here are the results:

Do NOT let the lack of a “fancy camera” stop you from capturing your own images. I know it seems a little intimidating, but trust me. If you have a good light source, your images will turn out perfectly fine!
I hope this little tutorial has helped give you some ideas and inspiration so you won’t be afraid to shoot your own flats! If you guys have any questions for me, reach out!! I’d love to hear from you and I’m always happy to share little tips I’ve learned along the way. Happy shooting!!


")


