

If you’ve ever attempted to photograph your own flatlay images for branded photographs to share on your Instagram page, Facebook account, or even your website you’re probably aware that there are many different options for you as far as your background choices go. I blogged about different background options not too long ago, which you can check out here. However, with the change of times comes new ideas and fresh ways to photograph your client’s bridal details, invitation suite, and yes – even your Instagram images!
Supplies Needed
You can easily find the supplies you need to do this project at Michael’s, JoAnn Fabrics, Ace Hardware, Target, Lowes, etc. We found what we needed at Michael’s (they had coupons!) and Ace Hardware (it’s close to our home). Supplies are pretty cheap for this project and you should be able to make multiple textured styling boards in one sitting.
- canvas boards in varying sizes
- acrylic paints in your choice of colors
- trowel
- paint brush
- drywall compound
- bowl for paint
How To: Making Textured Styling Boards
- Lay your canvas on a surface that you don’t mind getting dirty. You can do this outside or inside, if you’re able to clean up quickly. Or you can use an old bed sheet.
- Using the trowel, work from the center of the canvas spreading the drywall compound around the canvas. You want texture to show so don’t worry about lines showing up from the trowel as you’re spreading it out. The thicker you spread the compound on, the longer the canvas will take to dry. Think about textured stucco walls and the imperfection of the application. Your imperfections are what provide your boards with unique texture.
- Let your board dry at least 24 hours before applying your paint! I set my boards next to the dehumidifier in our basement and they dried overnight.
- Using your paintbrush, apply 1-2 full coats of the acrylic paint you’ve chosen in varying colors. If you paint two thick coats your boards will be less likely to crack, chip, or peel.
- Let the paint dry fully before applying a second coat.
[Tweet “How to make your own textured styling boards for branded images or bridal details!”]
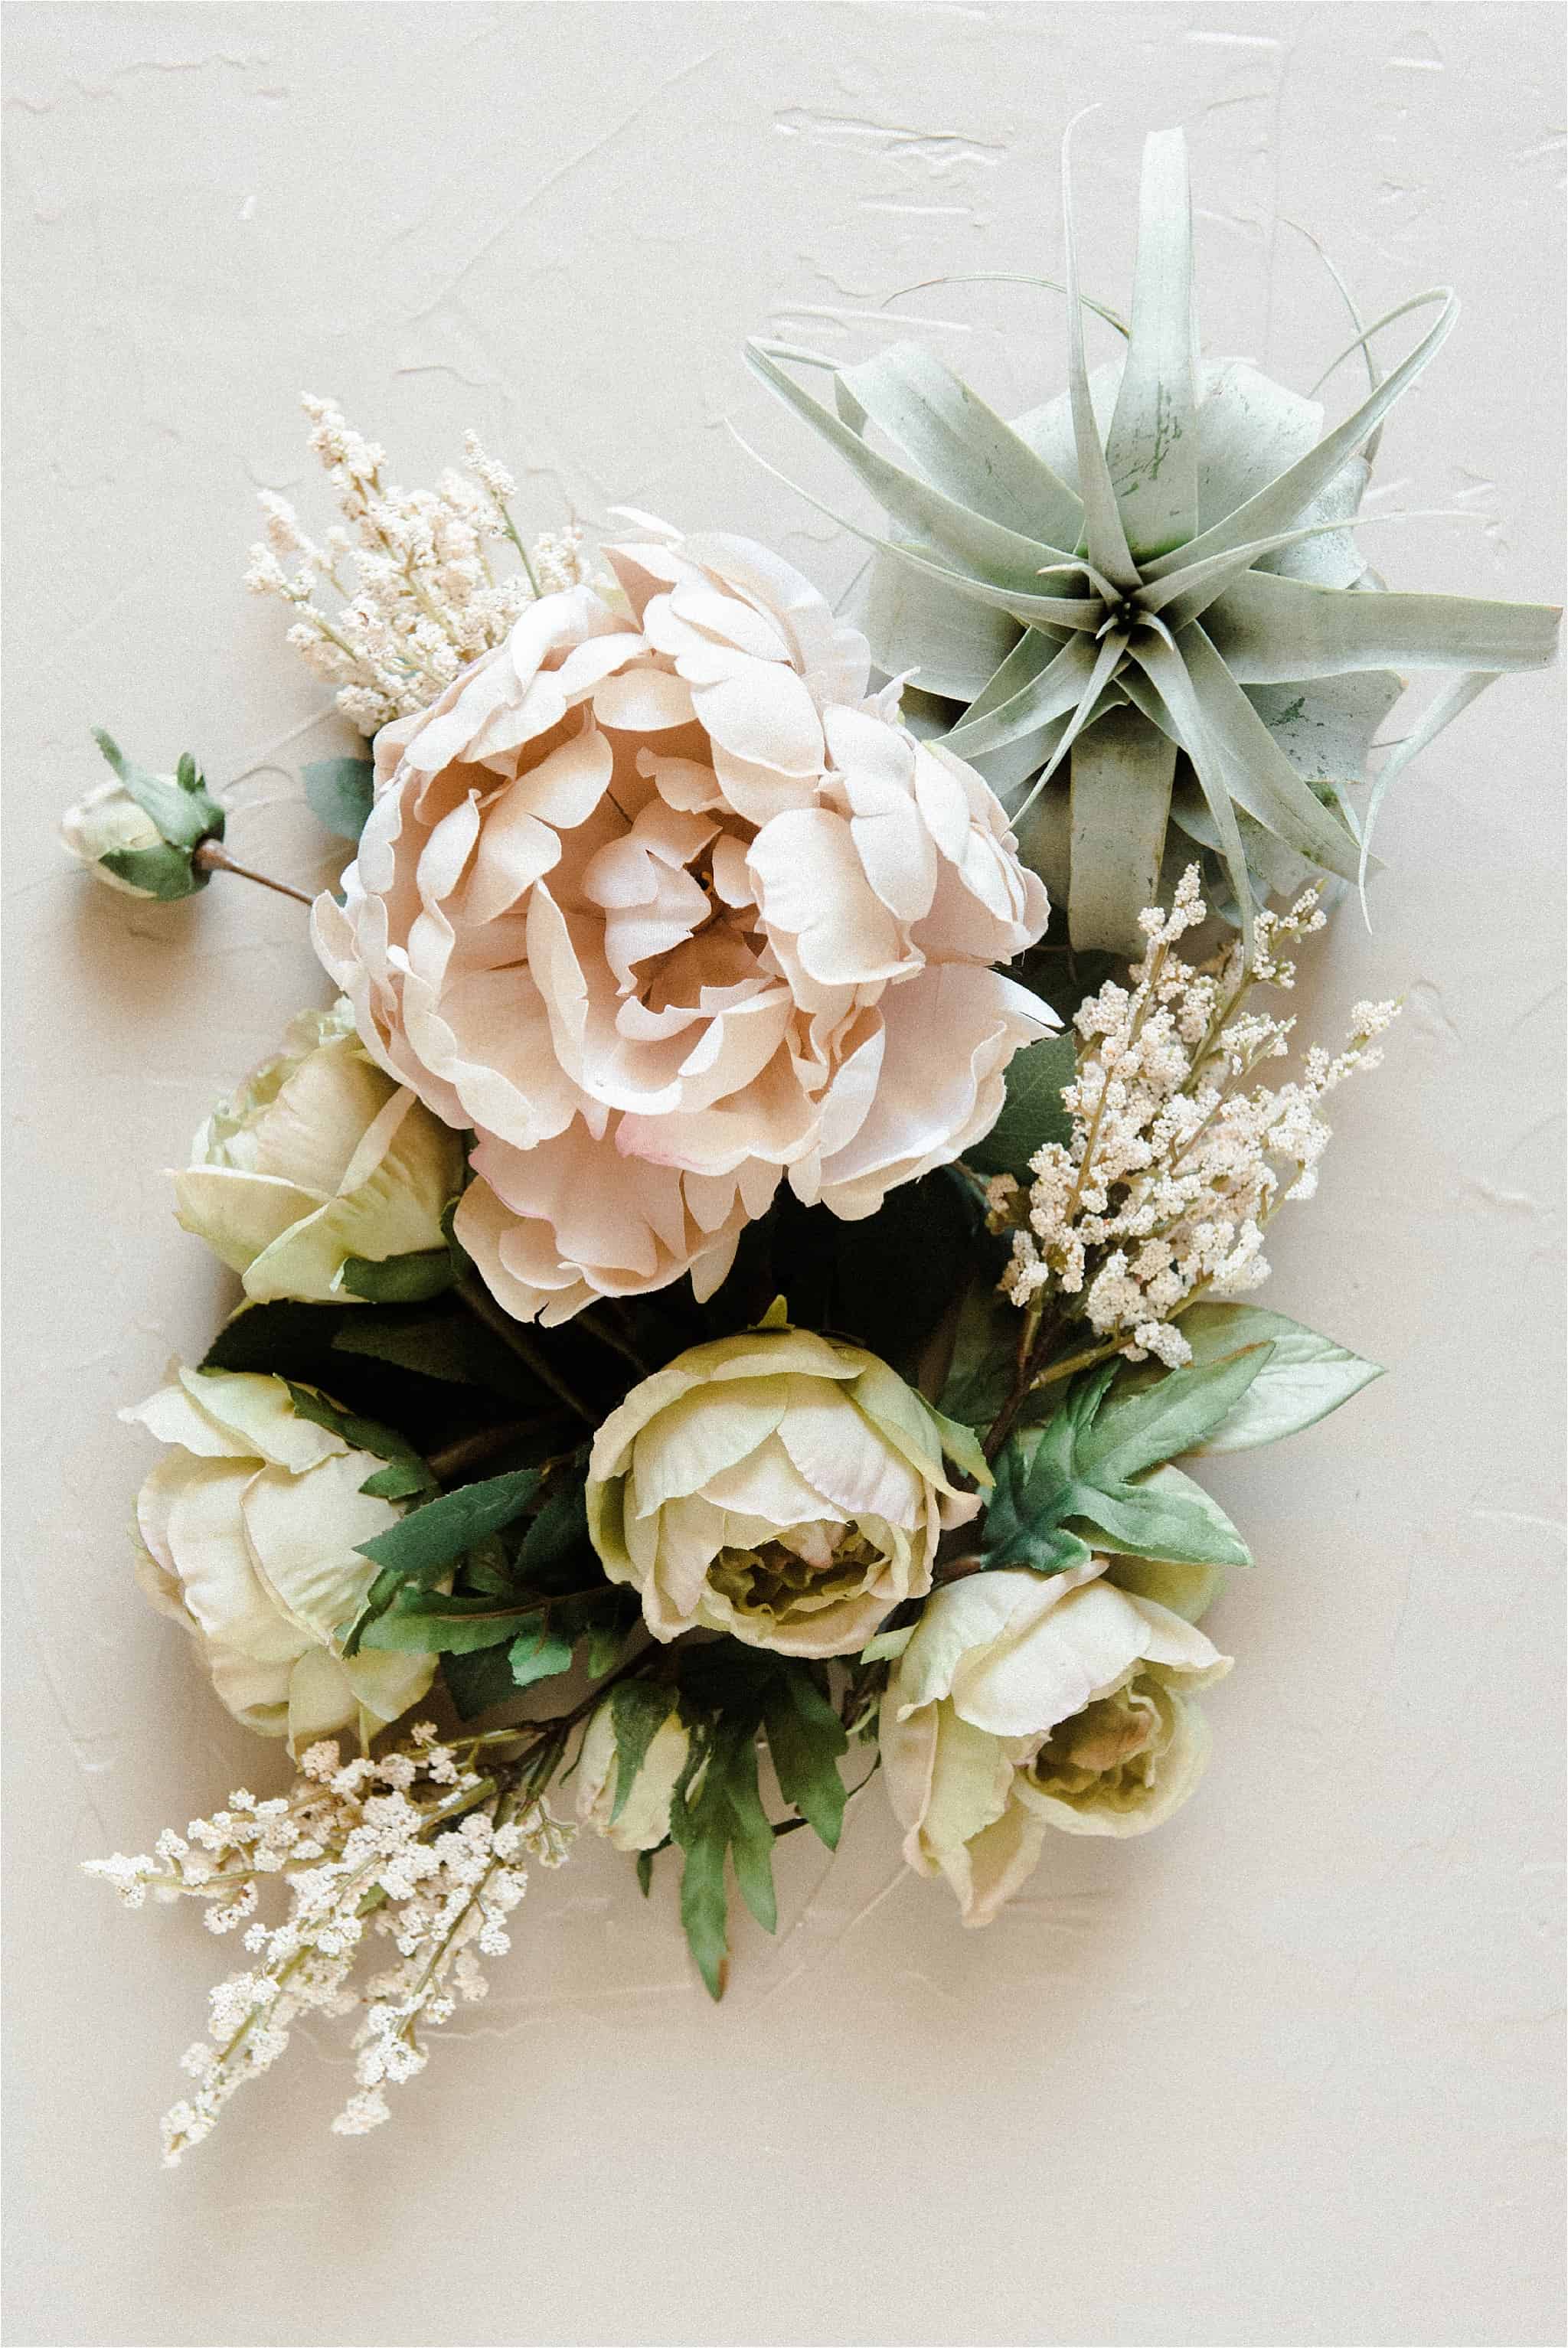
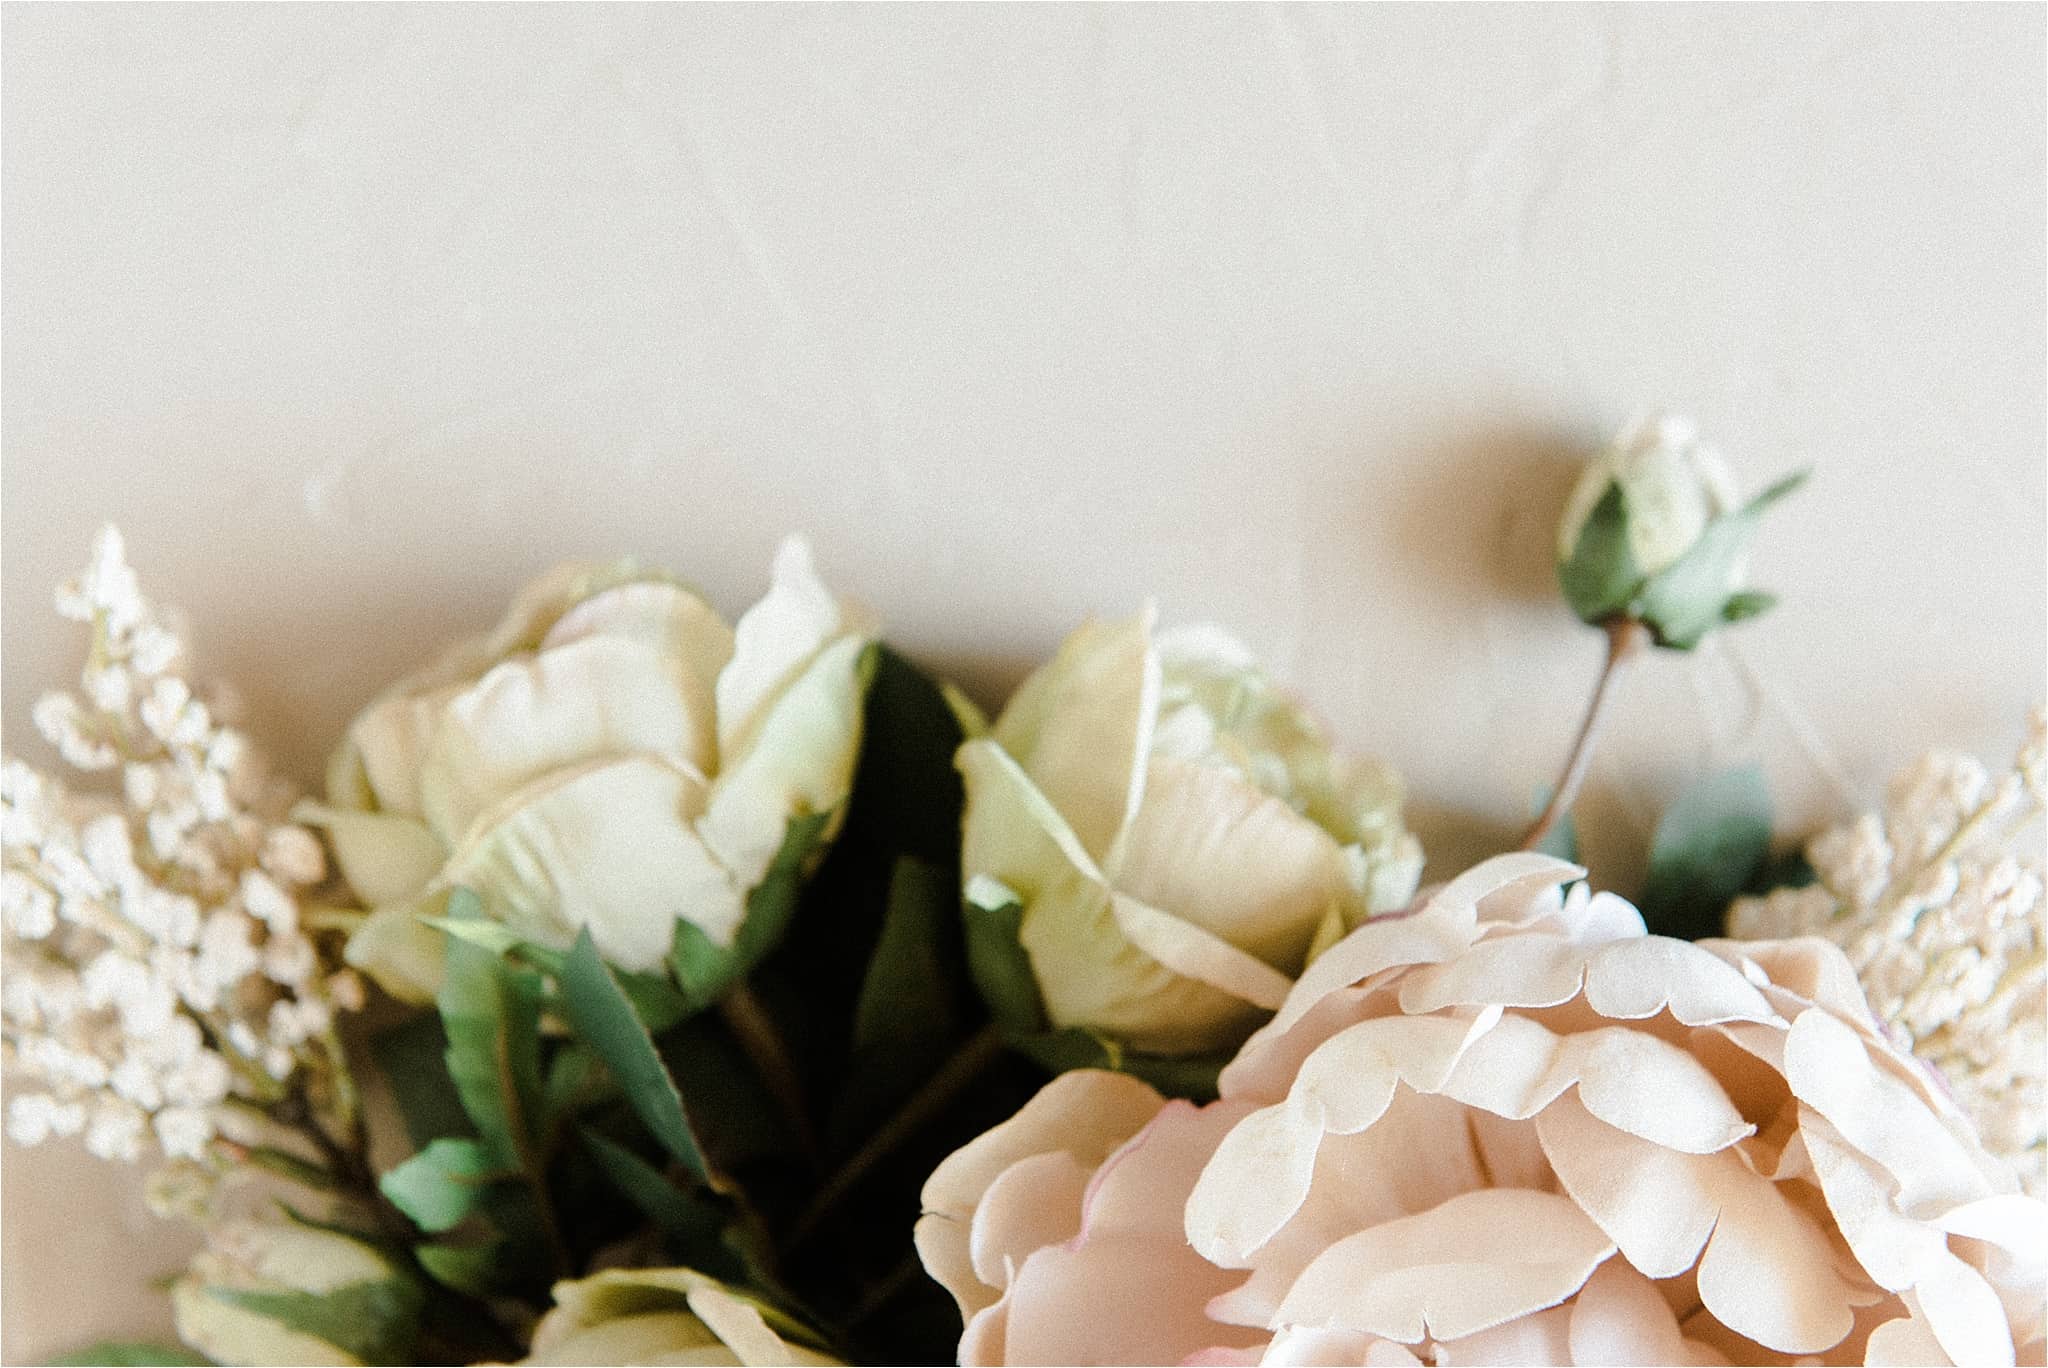
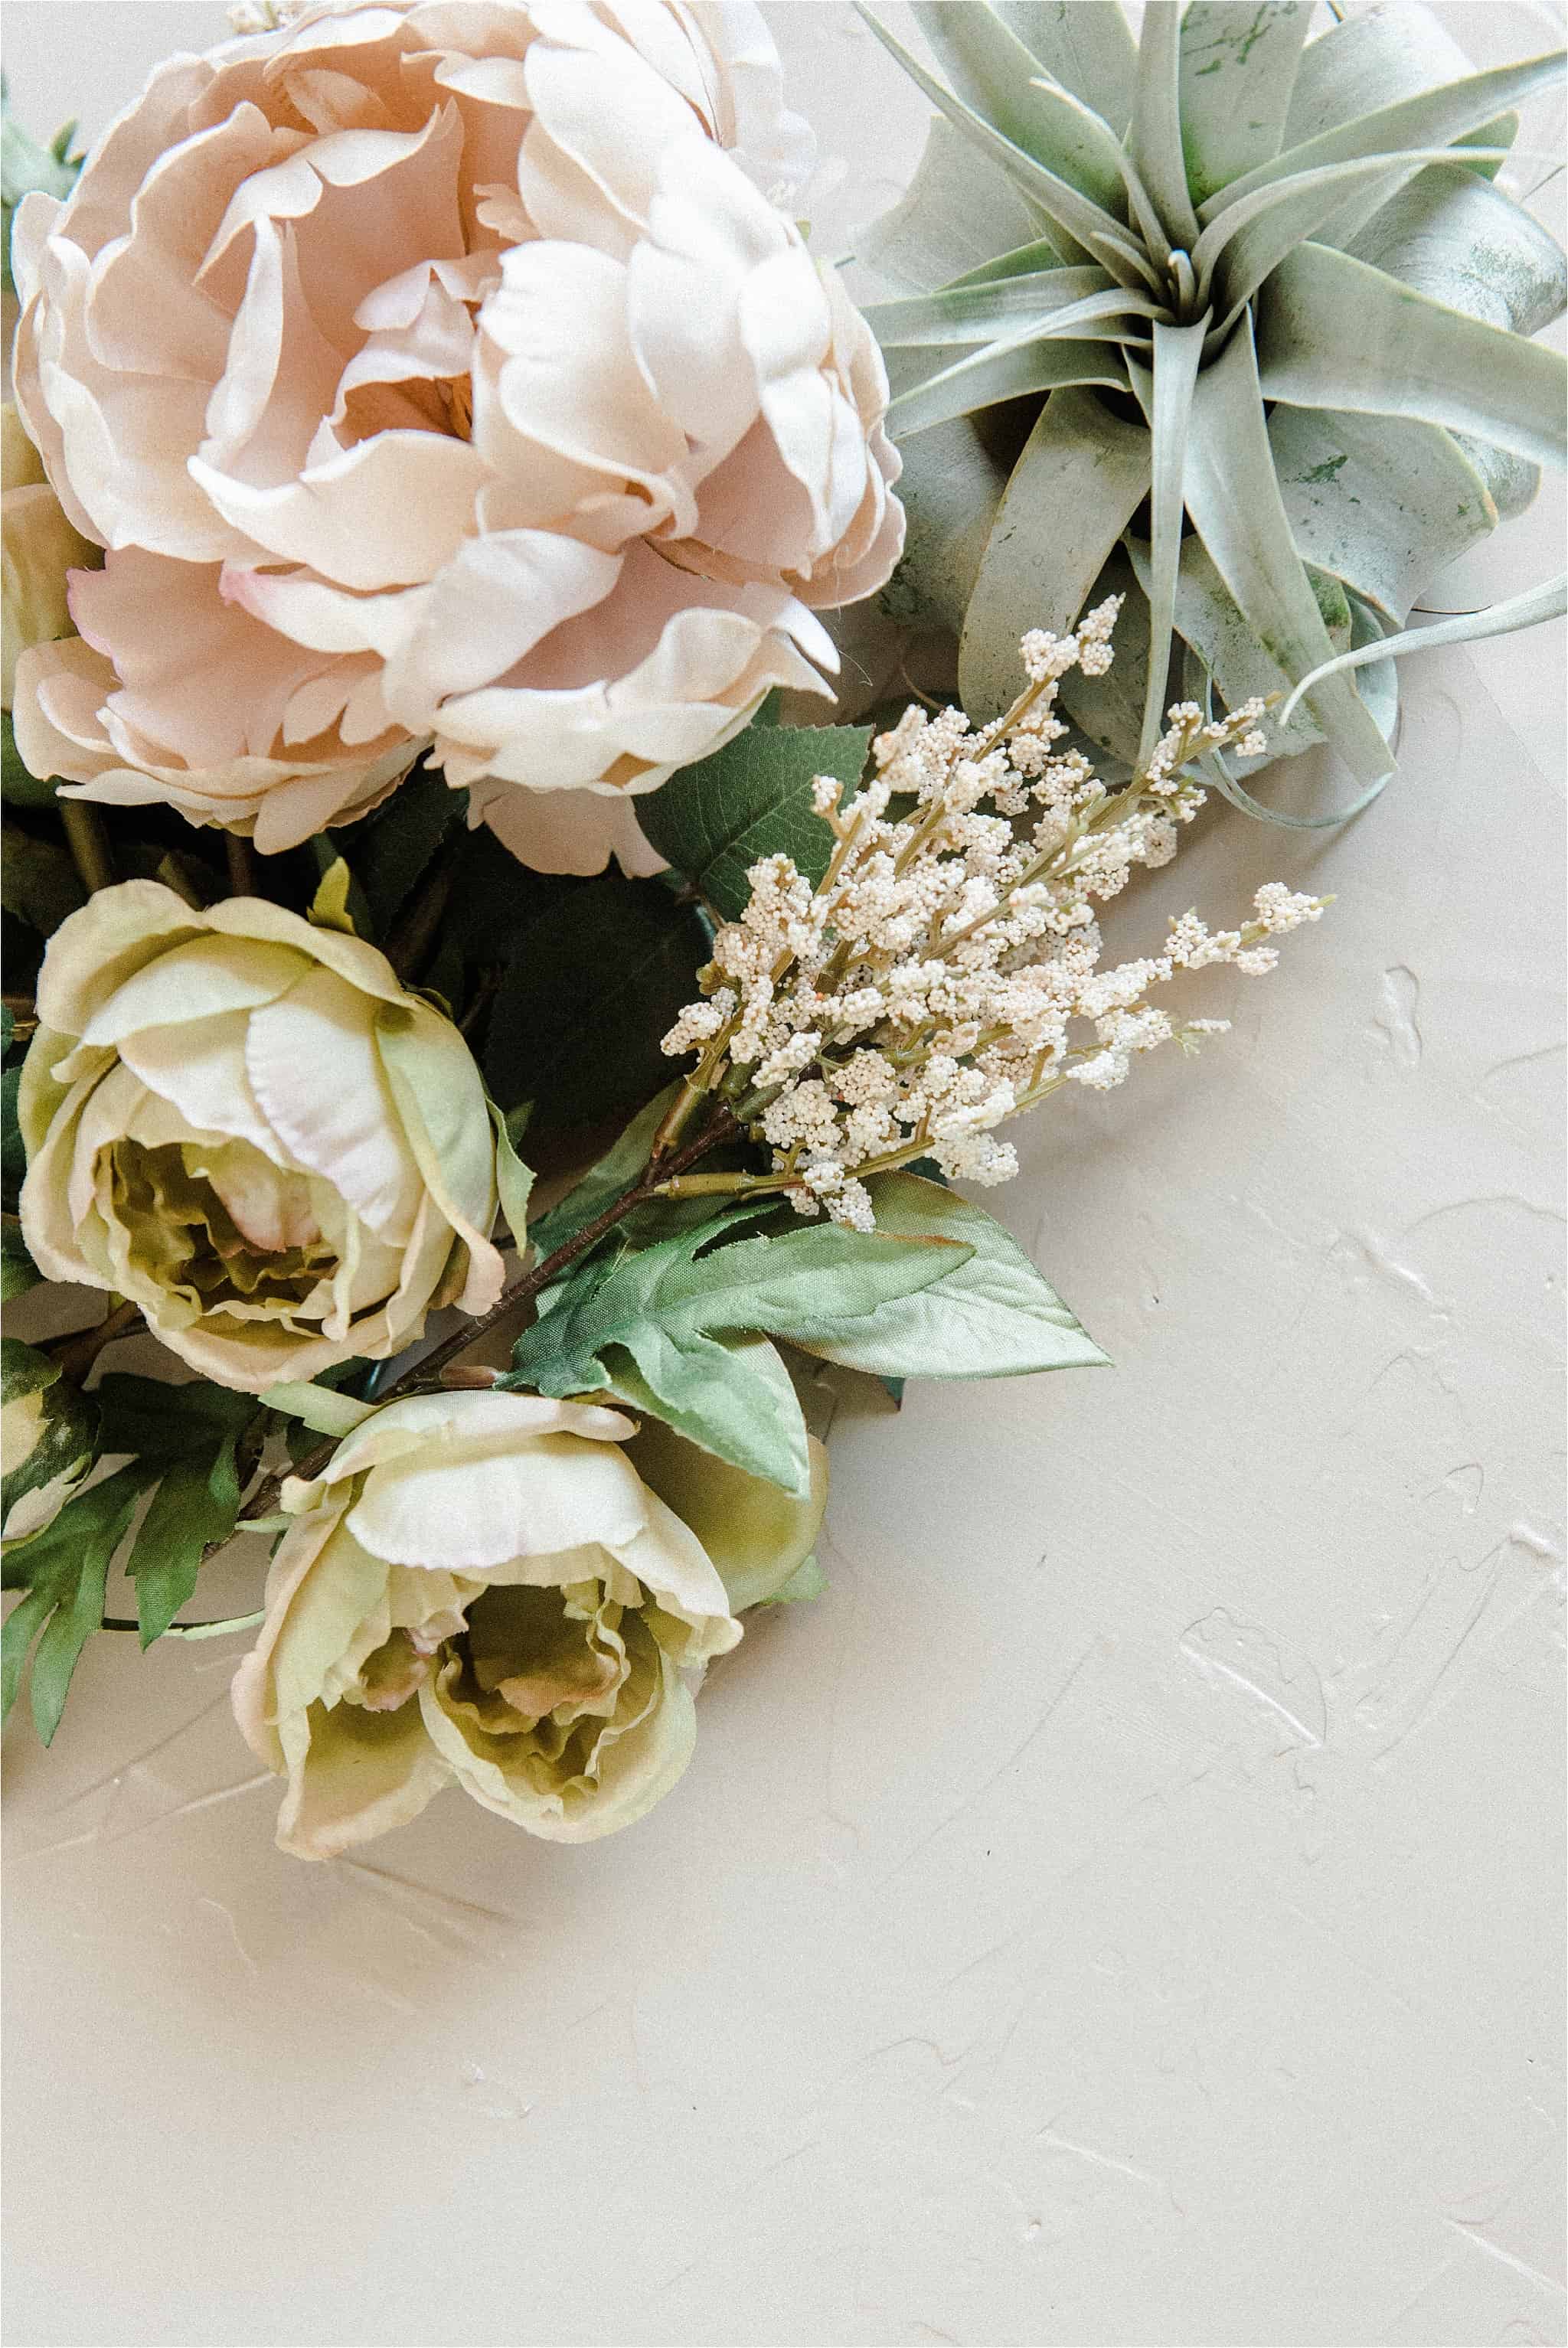
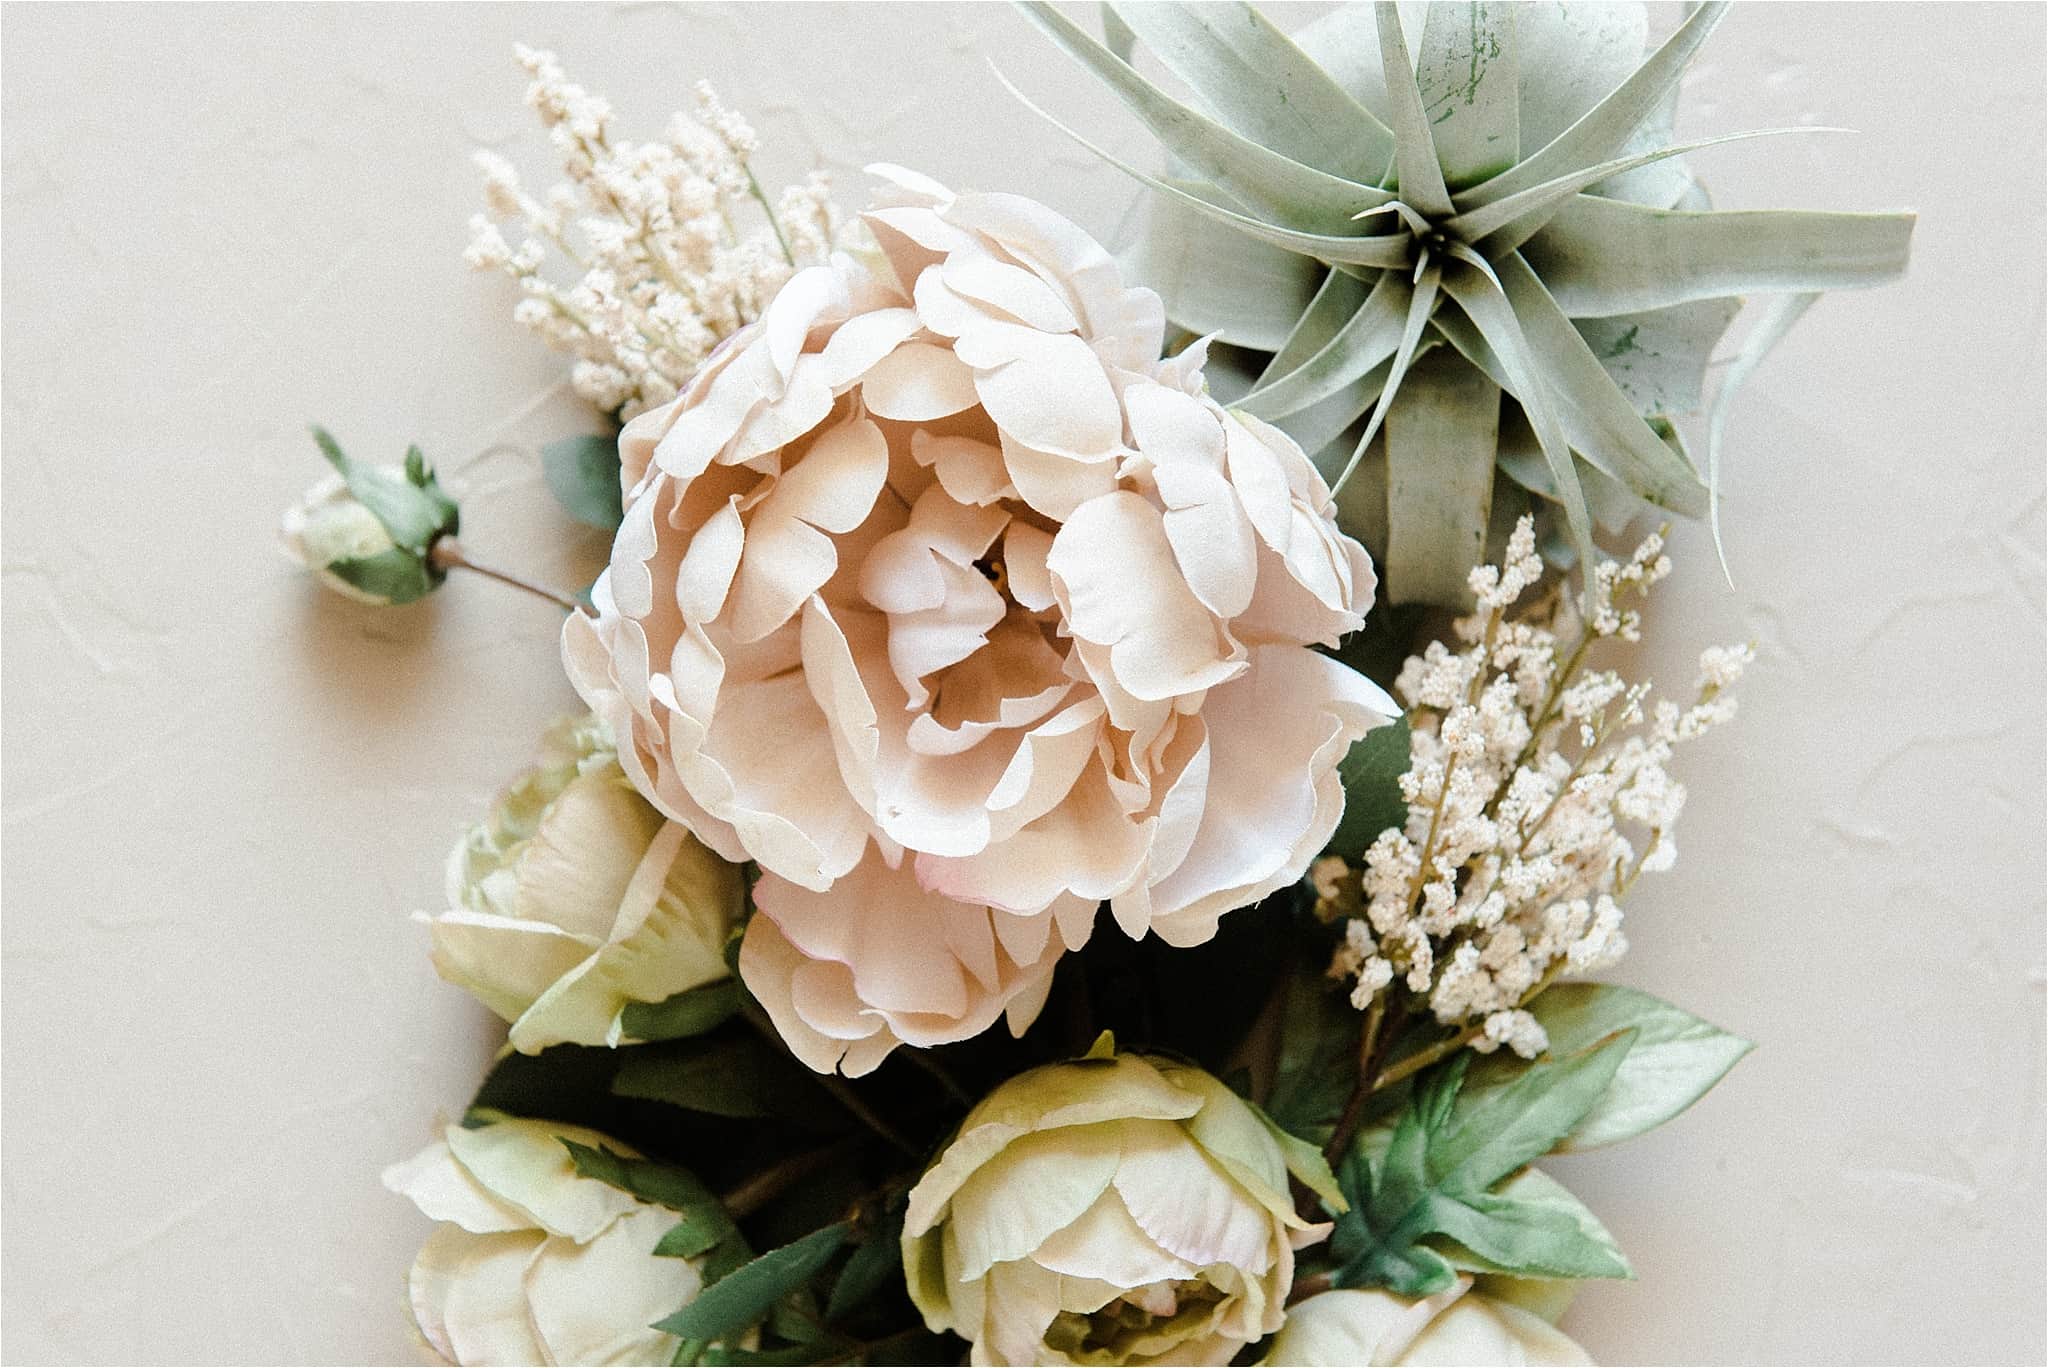
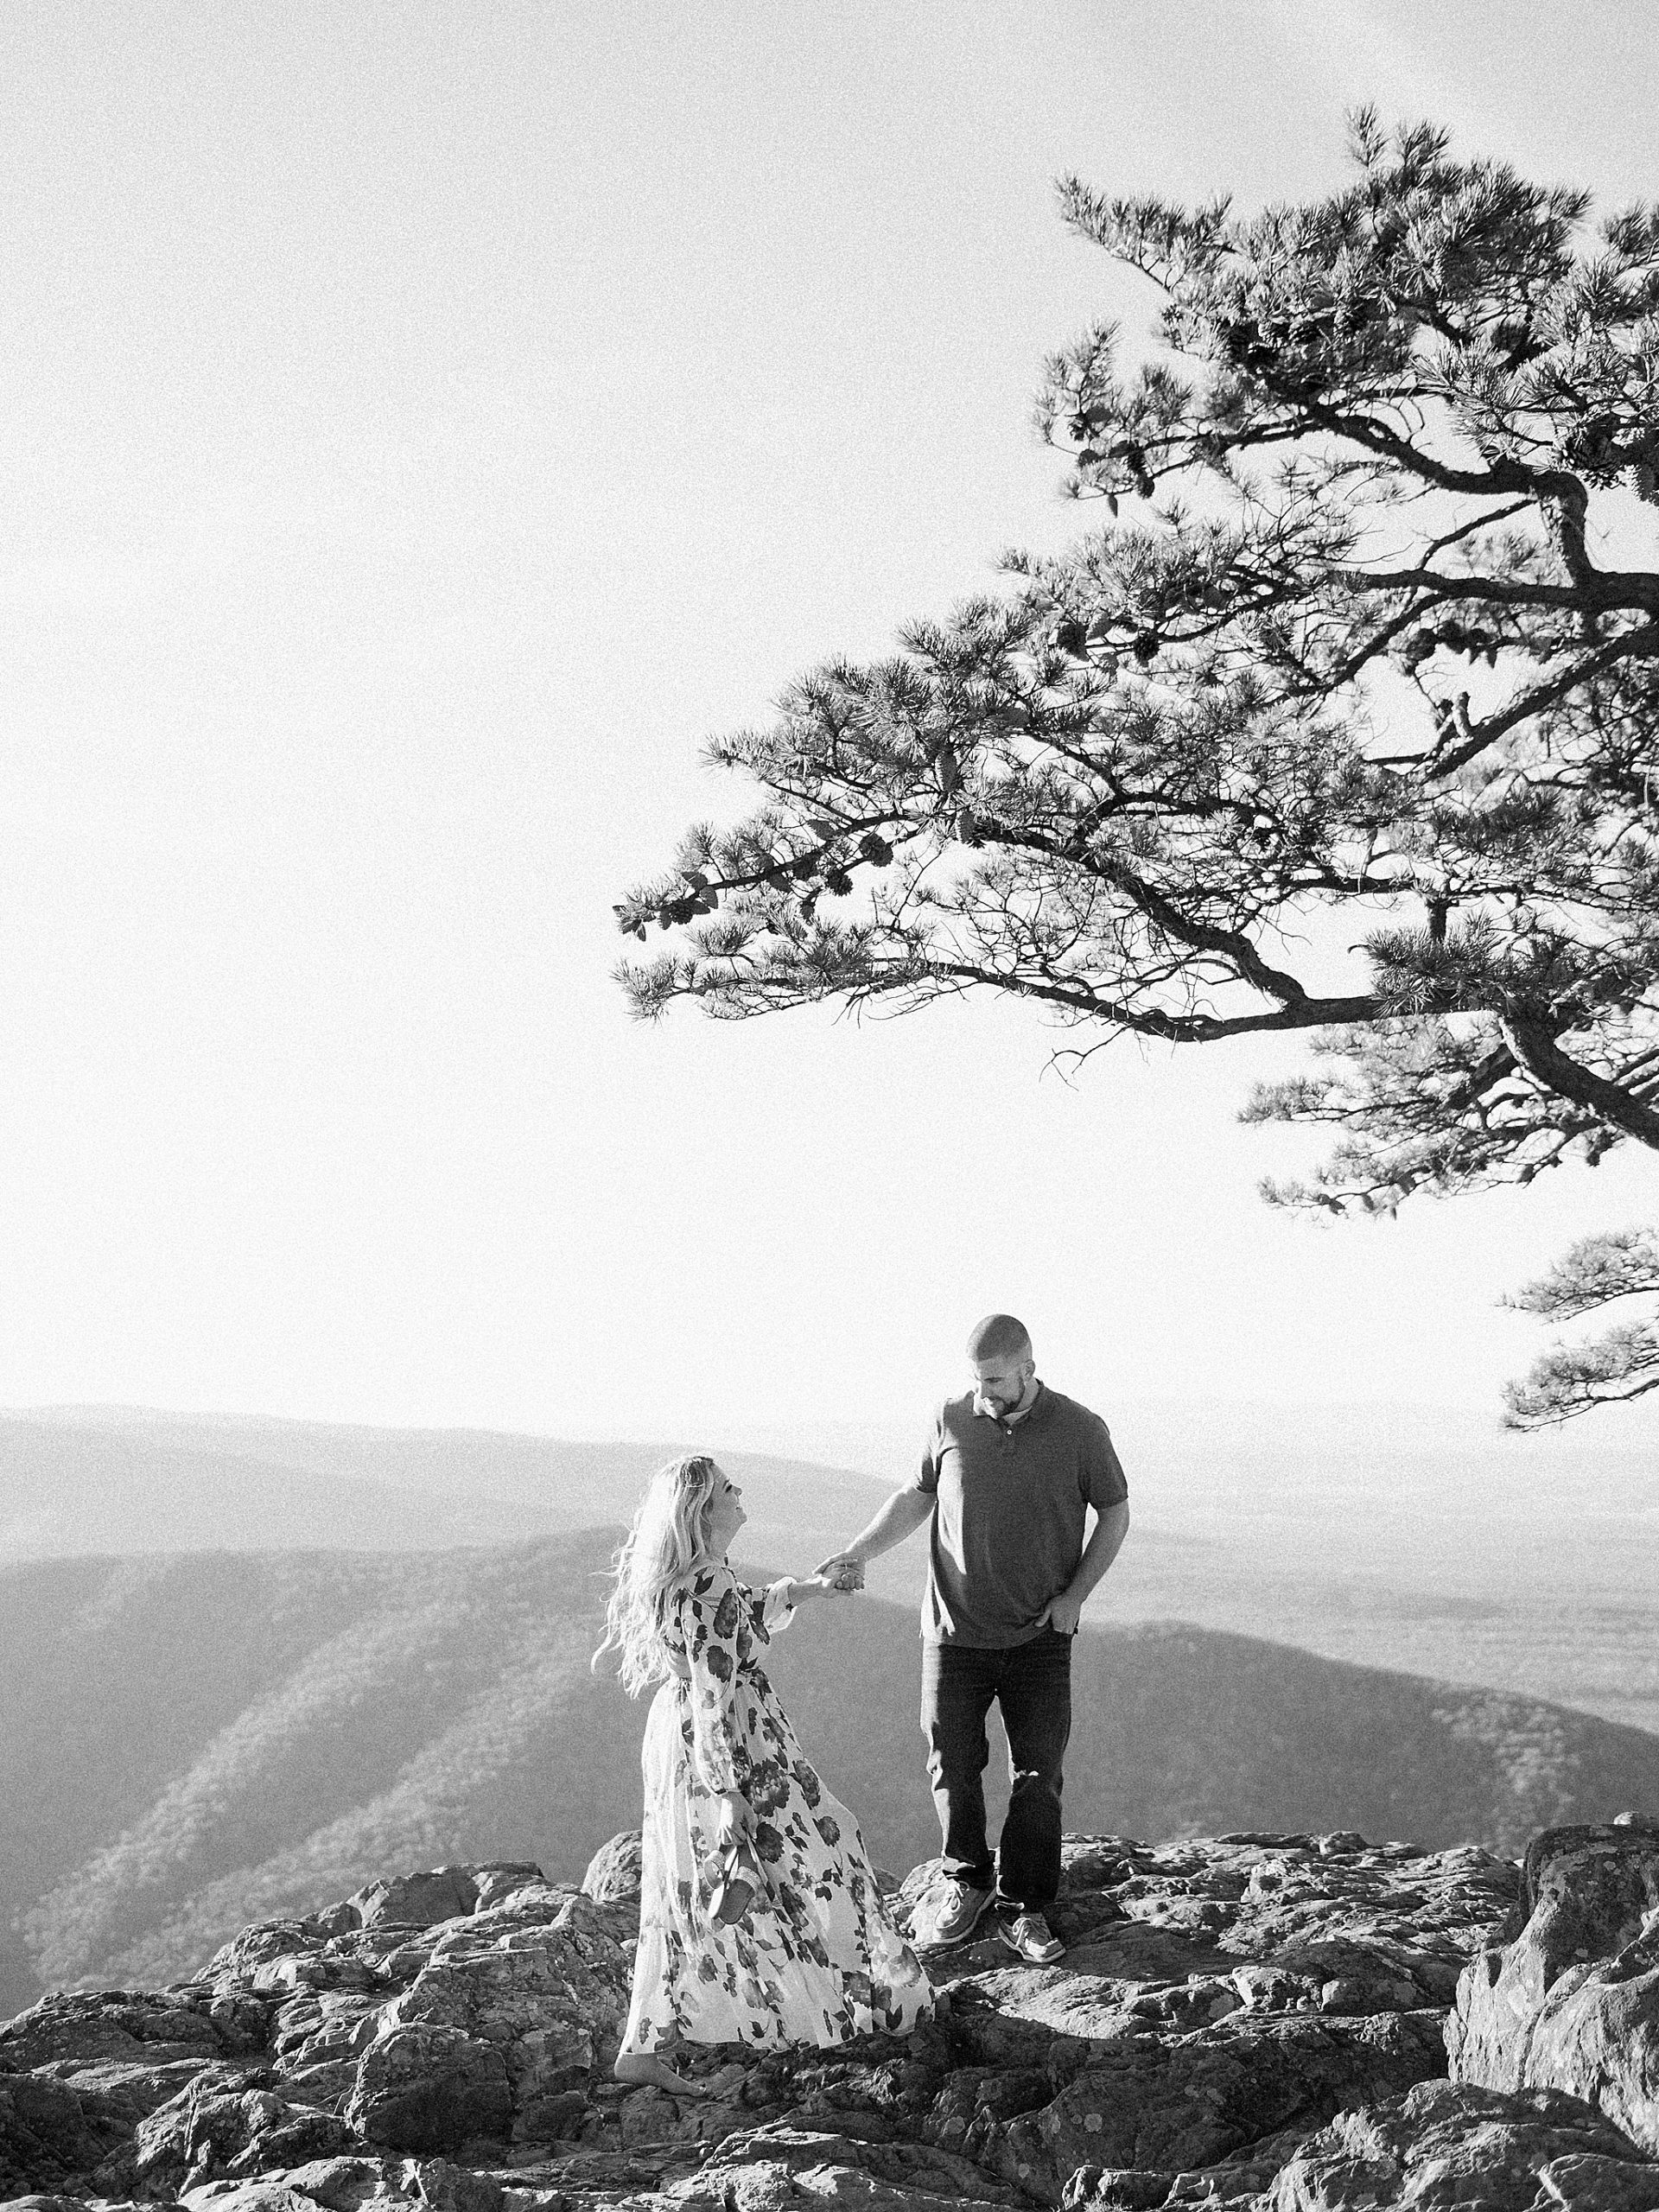
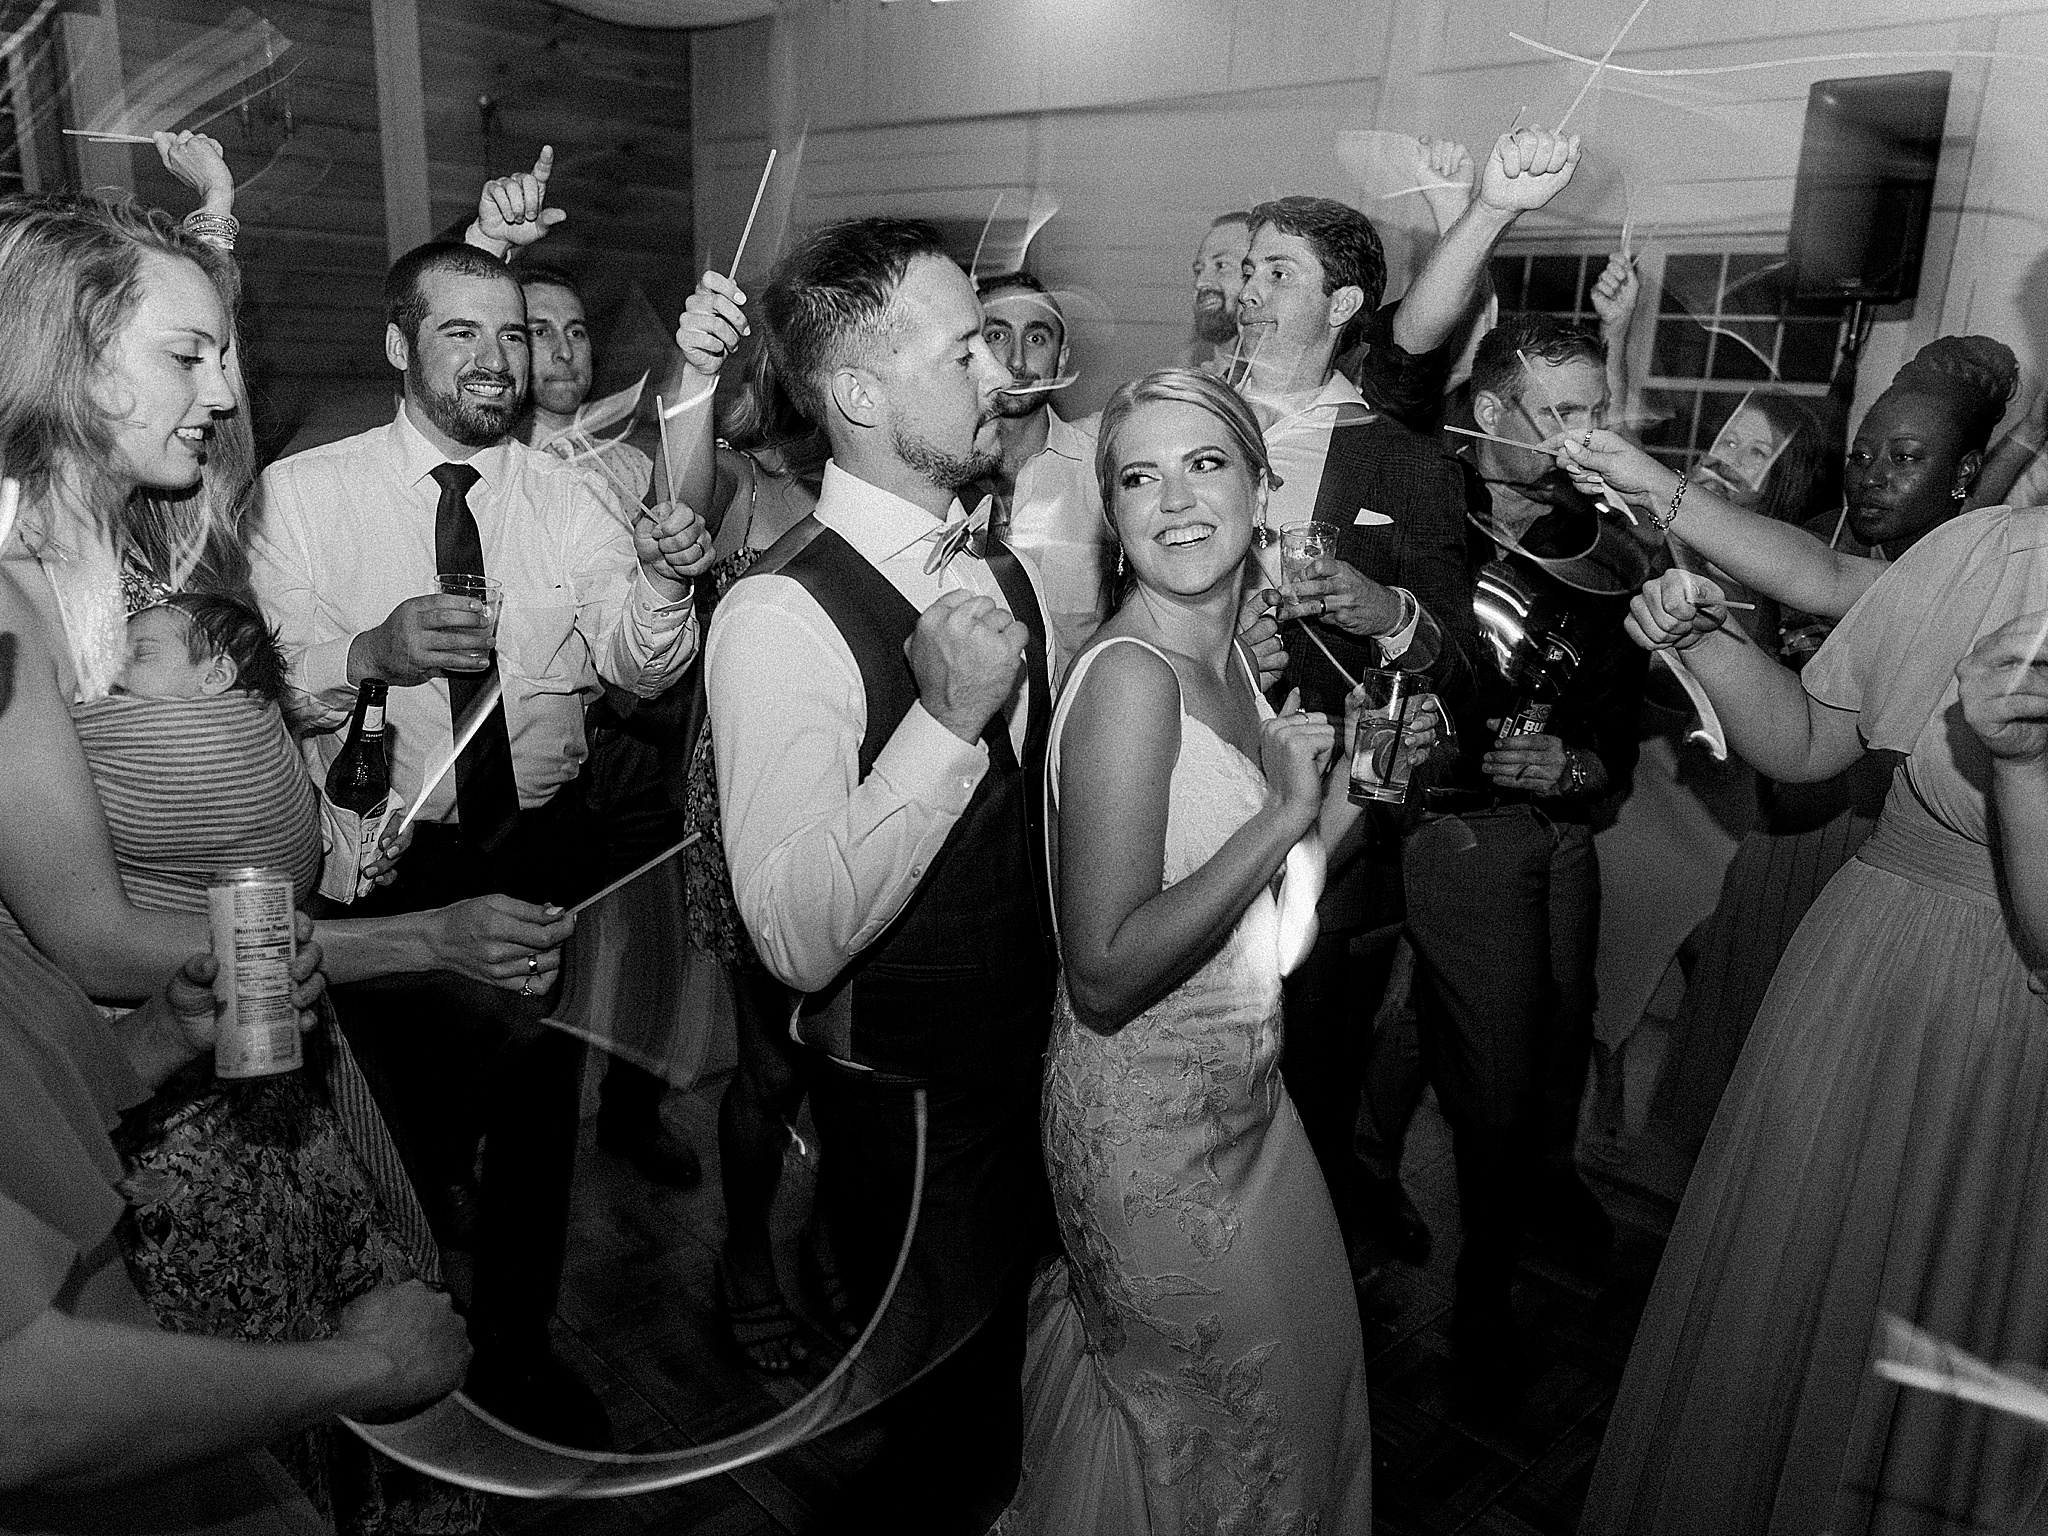
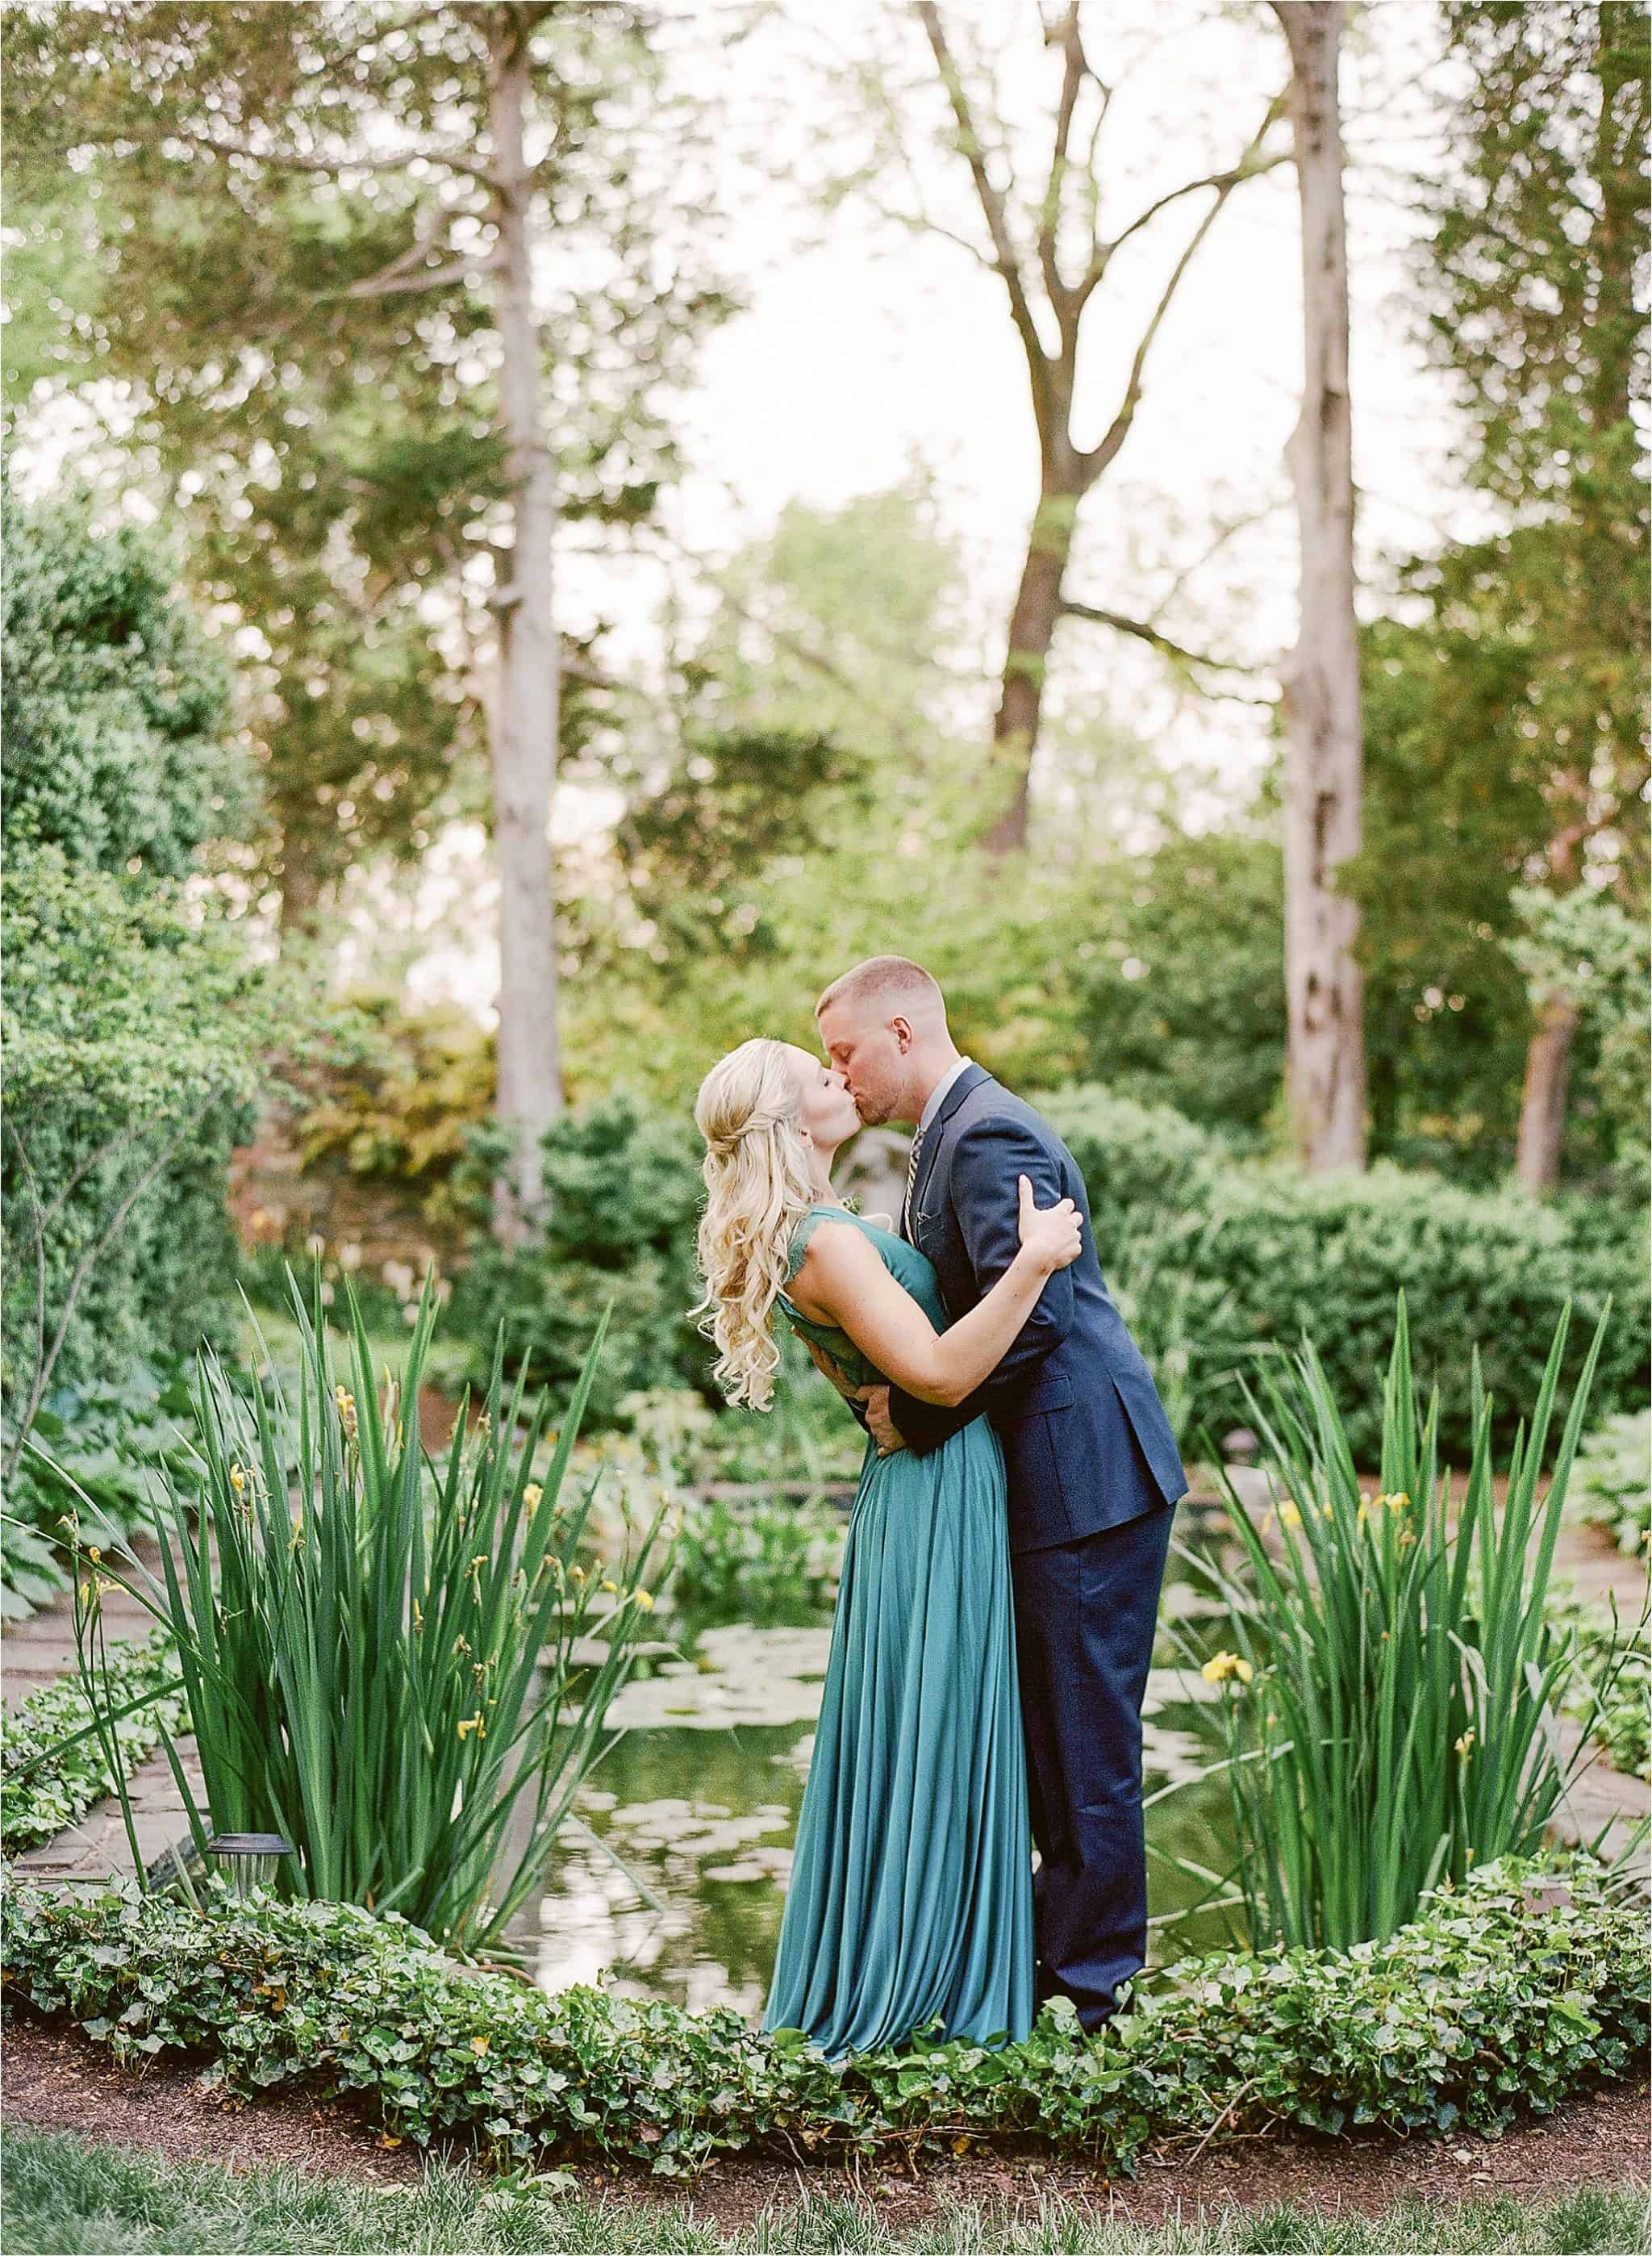
Now your boards are ready to use!!
Here’s some images we recently captured to show how beautiful they are when they’re finished. Enjoy!


")


